Haldex Controller Gen4 Plug and Play Installation Guide
VE PRODUCT SUPPORT / INSTALLATION
Haldex Gen4 Plug and Play Installation
Install the VE Haldex Controller with the inline Plug and Play loom. The photos show an MQB installation. The access cover, trim, and connector position can vary by vehicle.
Vehicle examples: VW Golf Mk6 R and facelift Audi S3 (8P).
Confirm the Haldex generation and the correct Plug and Play kit for your vehicle. Use the vehicle manufacturer’s instructions to access the wiring under the rear seat. Switch the ignition off before handling the connectors.
If the connector or wiring layout differs from the photos, identify the Haldex connection for your vehicle before continuing. Leave unrelated connectors in place.
PLUG AND PLAY / INLINE LOOM
Installation
STEP 01
Access the wiring under the rear seat
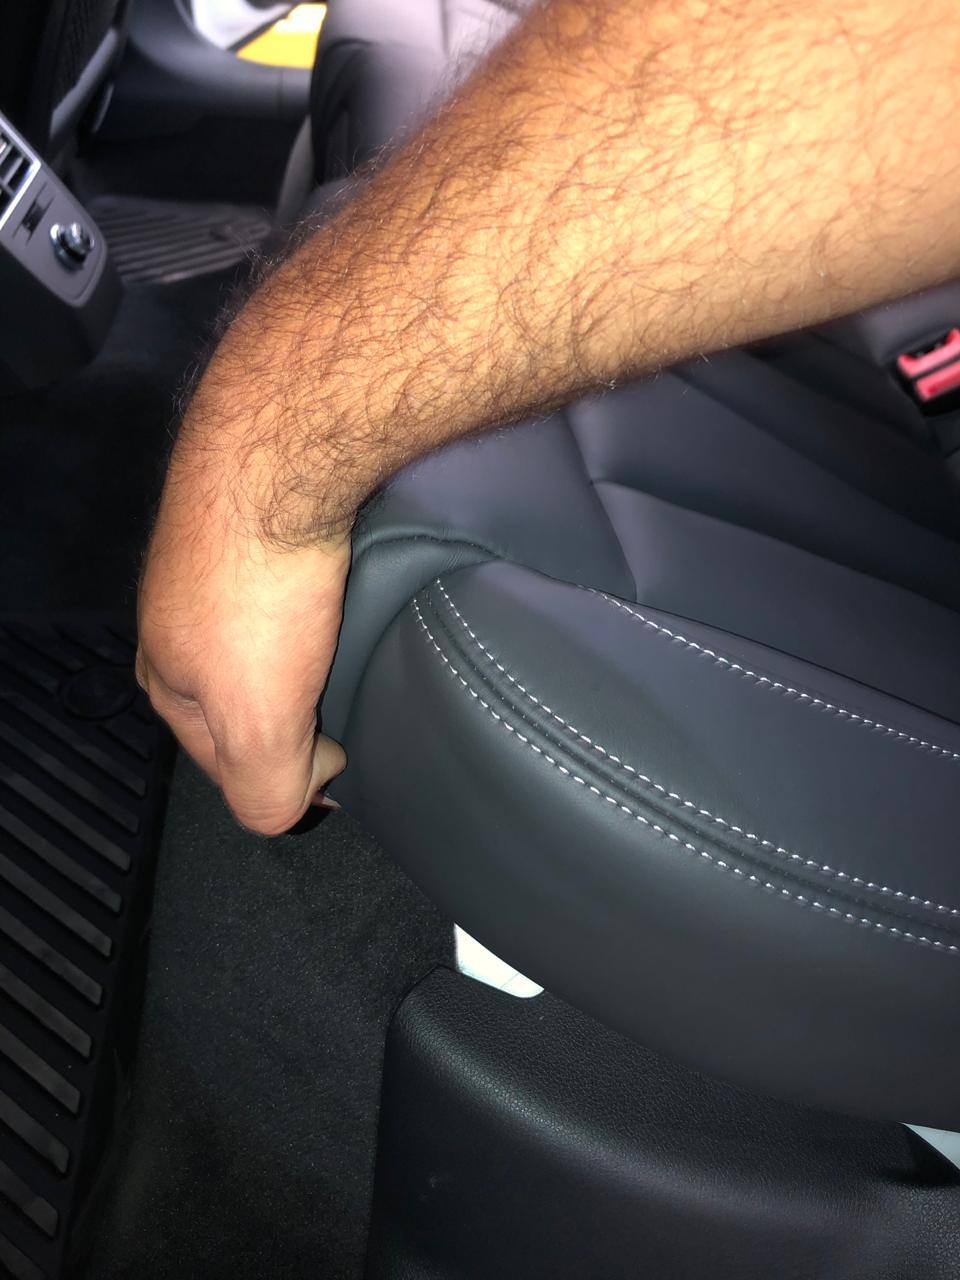
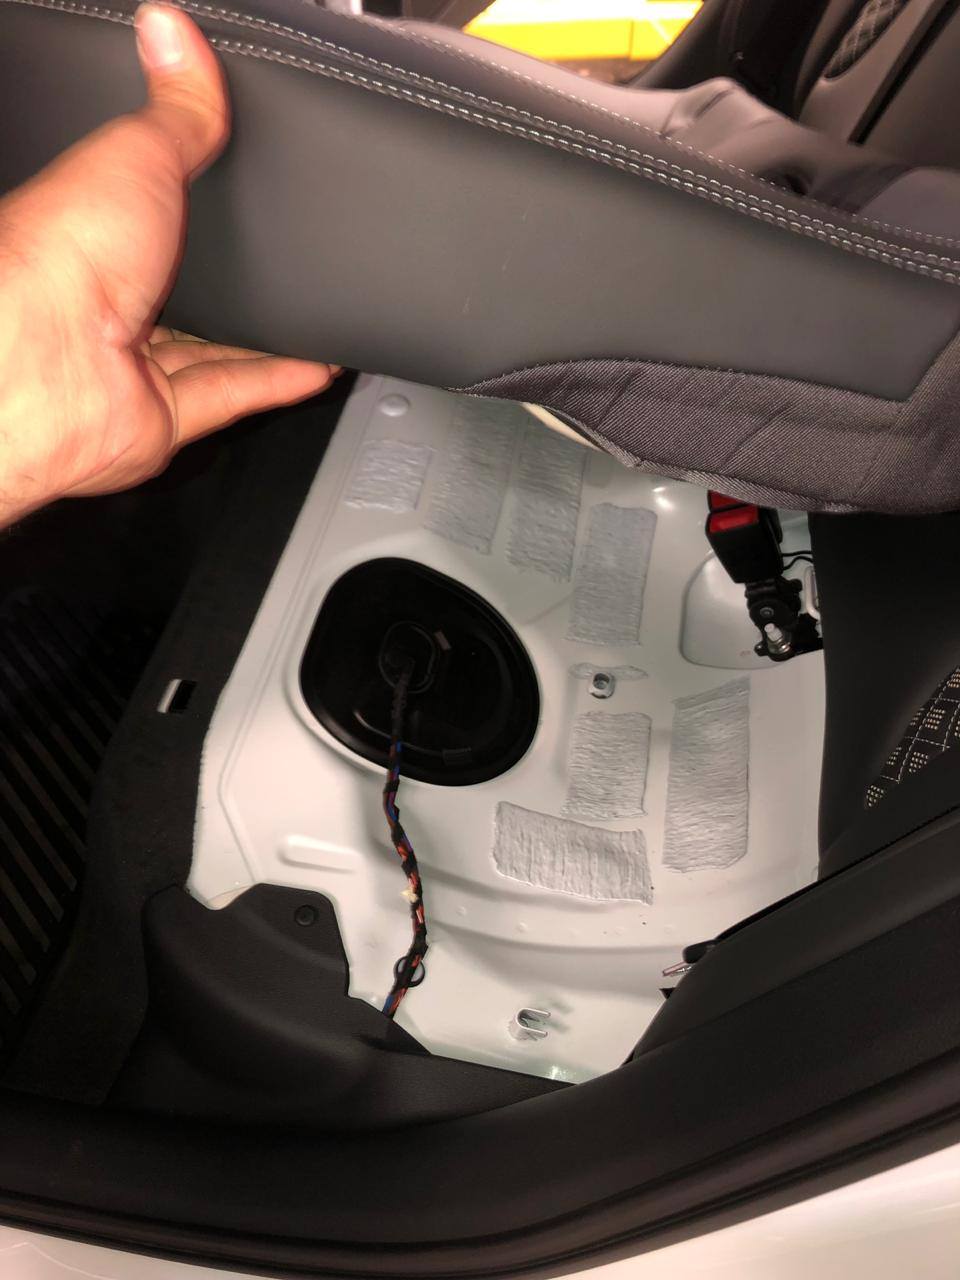
On the vehicle shown, lift the left side of the rear seat cushion to reach the wiring access cover. Locate the cover and lift it clear so you can reach the connector holder.
Lifting the left rear seat cushion
Wiring access cover under the rear seat cushion
Lifting the access cover to reach the connector holder
STEP 02
Insert the Plug and Play loom
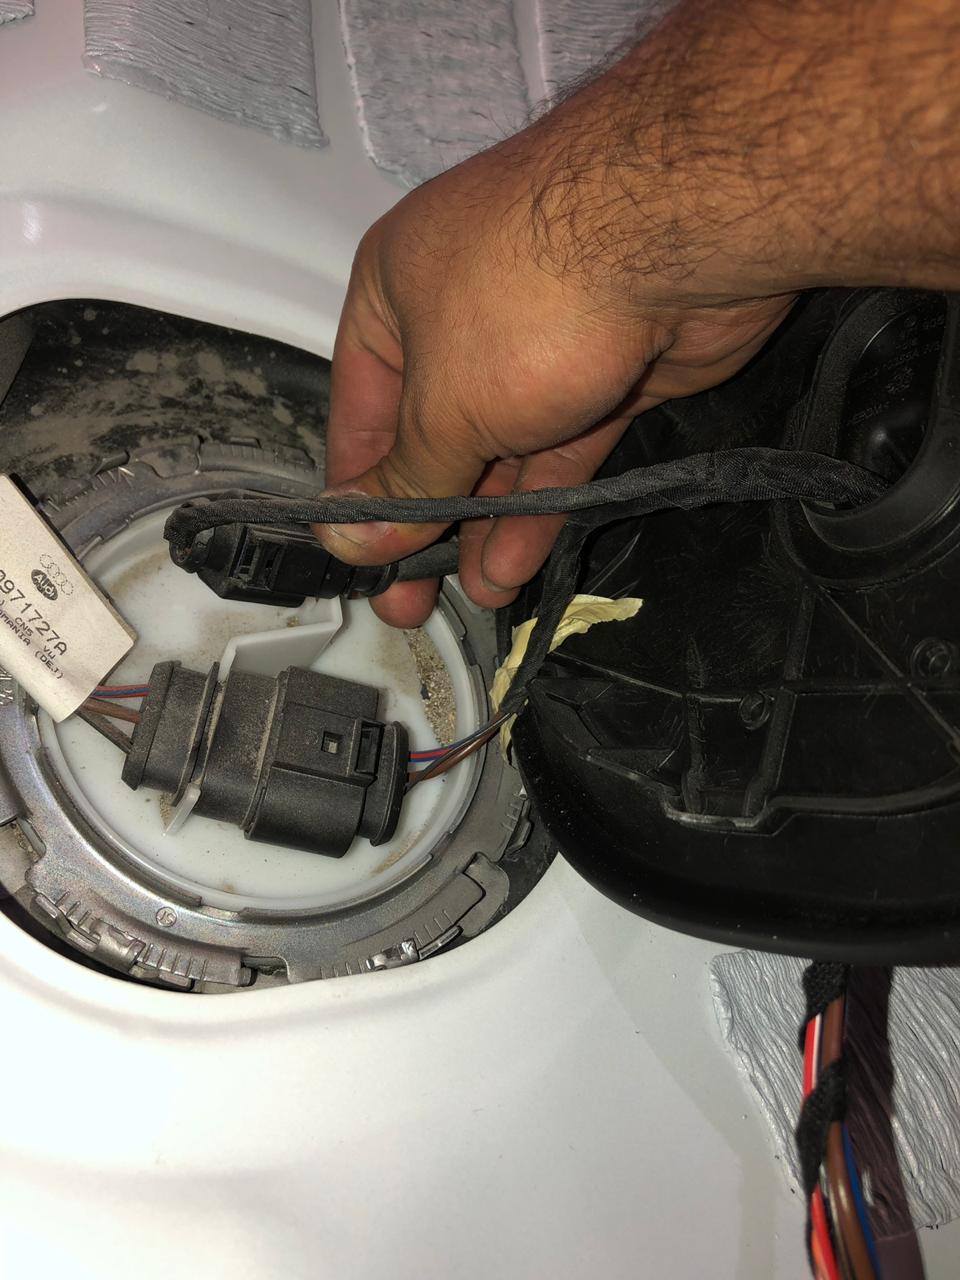
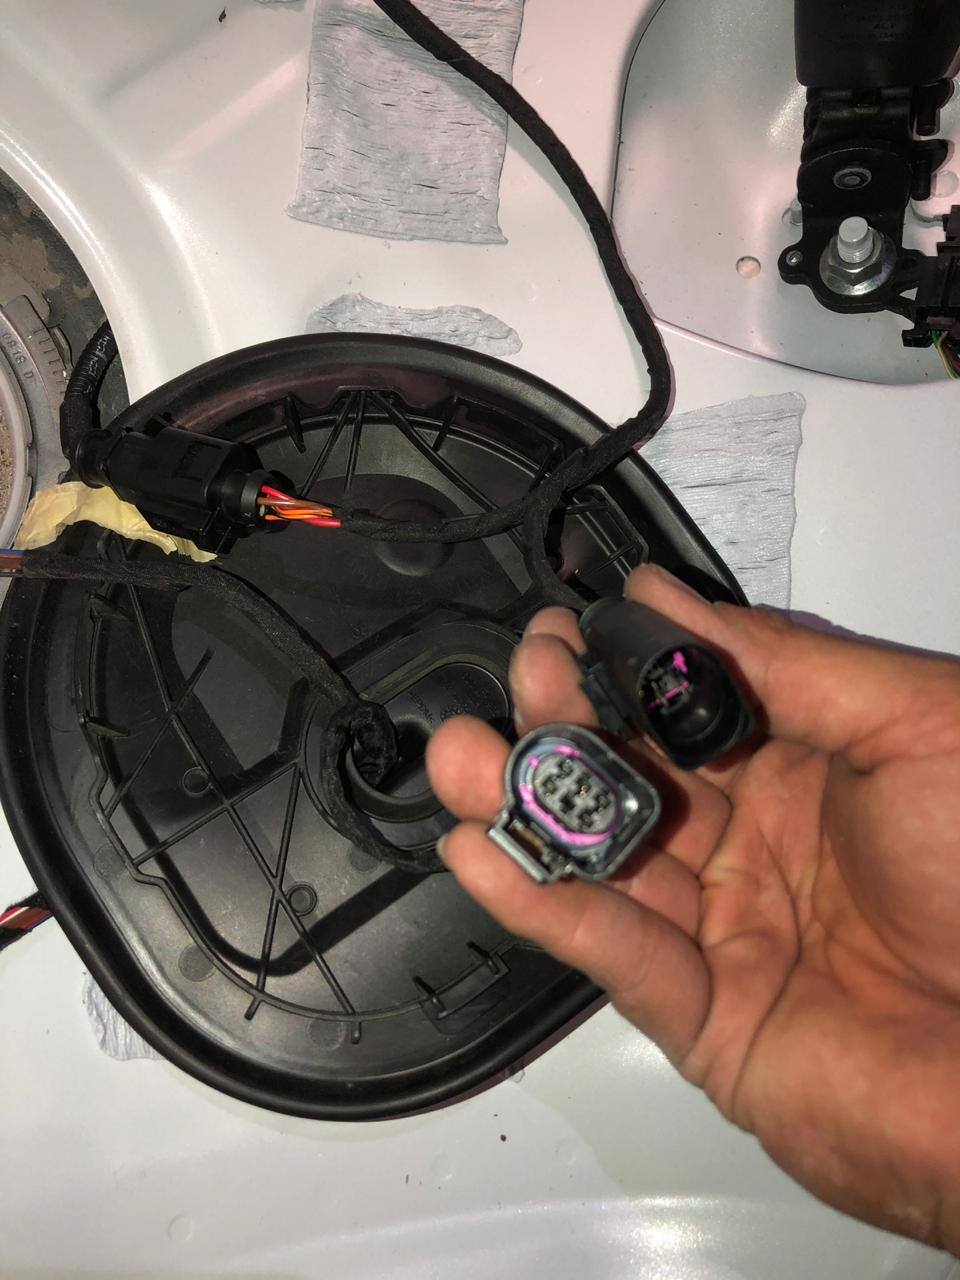
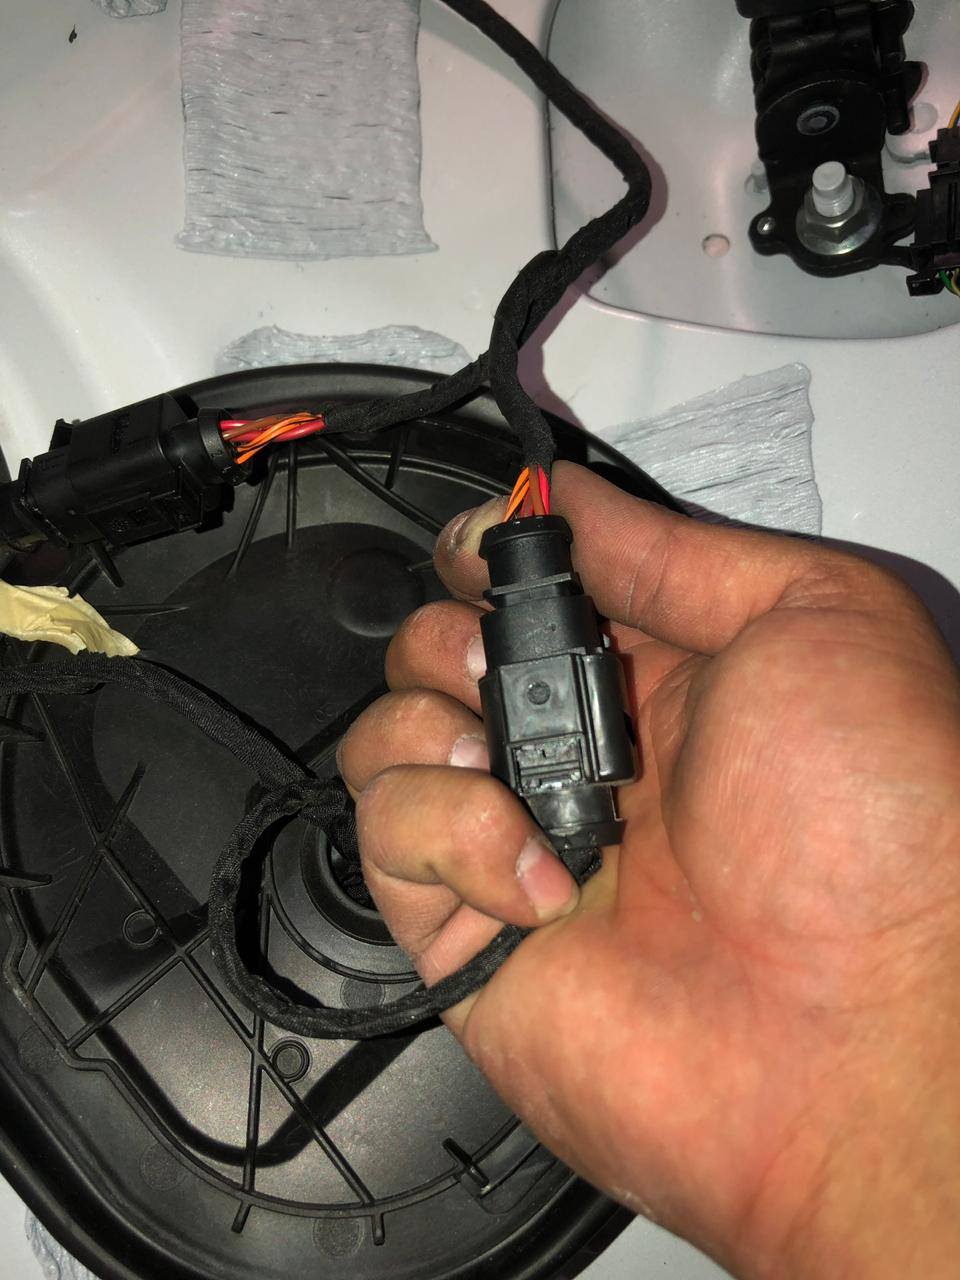
Release the six-pin Haldex connector from its holder and separate the factory connection. Plug each end of the VE inline loom into the matching side of that connection.
Check that both plugs latch before moving on. The loom sits between the two sides of the original connection.
Releasing the six-pin Haldex connector from its holder
Matching the factory connection to the inline loom
Joining the second side of the inline loom
STEP 03
Refit the cover and route the loom
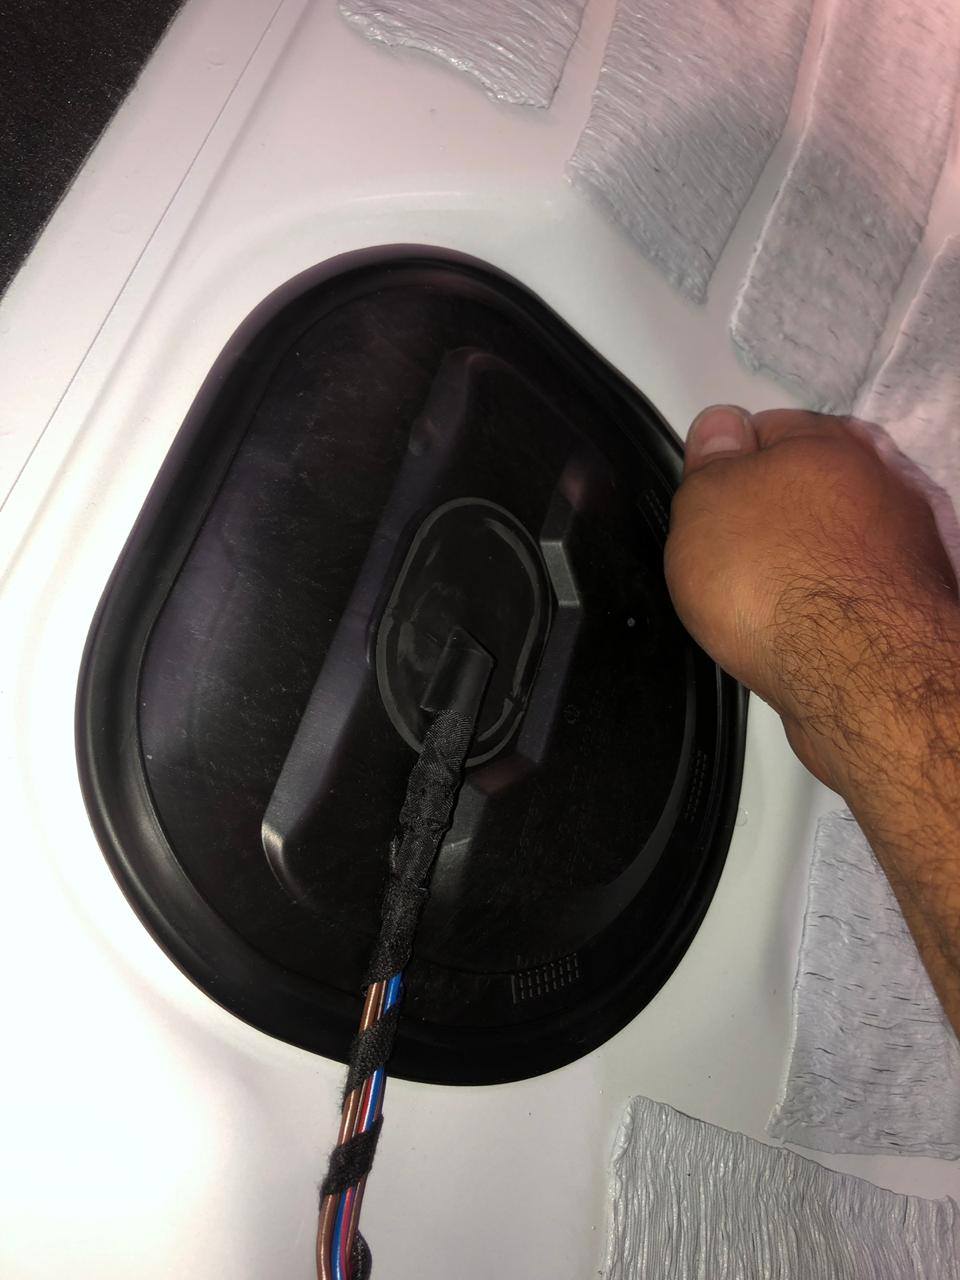
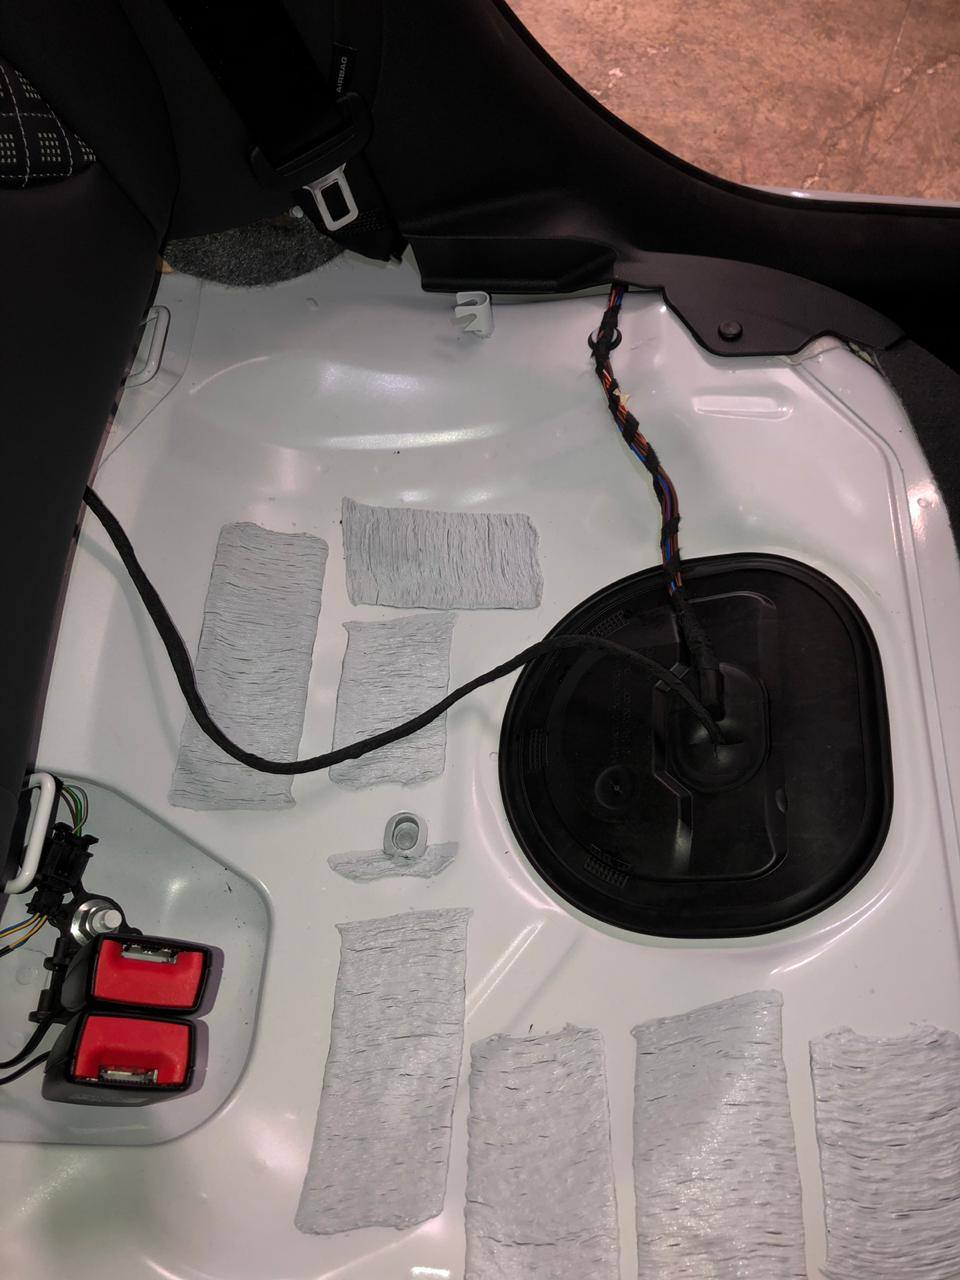
Route the new cable through the cover’s wiring pass-through and refit the cover. Run the controller end of the loom into the luggage compartment and keep it clear of seat mounts, trim clips, and sharp edges.
Access cover refitted with the new cable routed through it
Loom routed into the luggage compartment
STEP 04
Connect and secure the controller
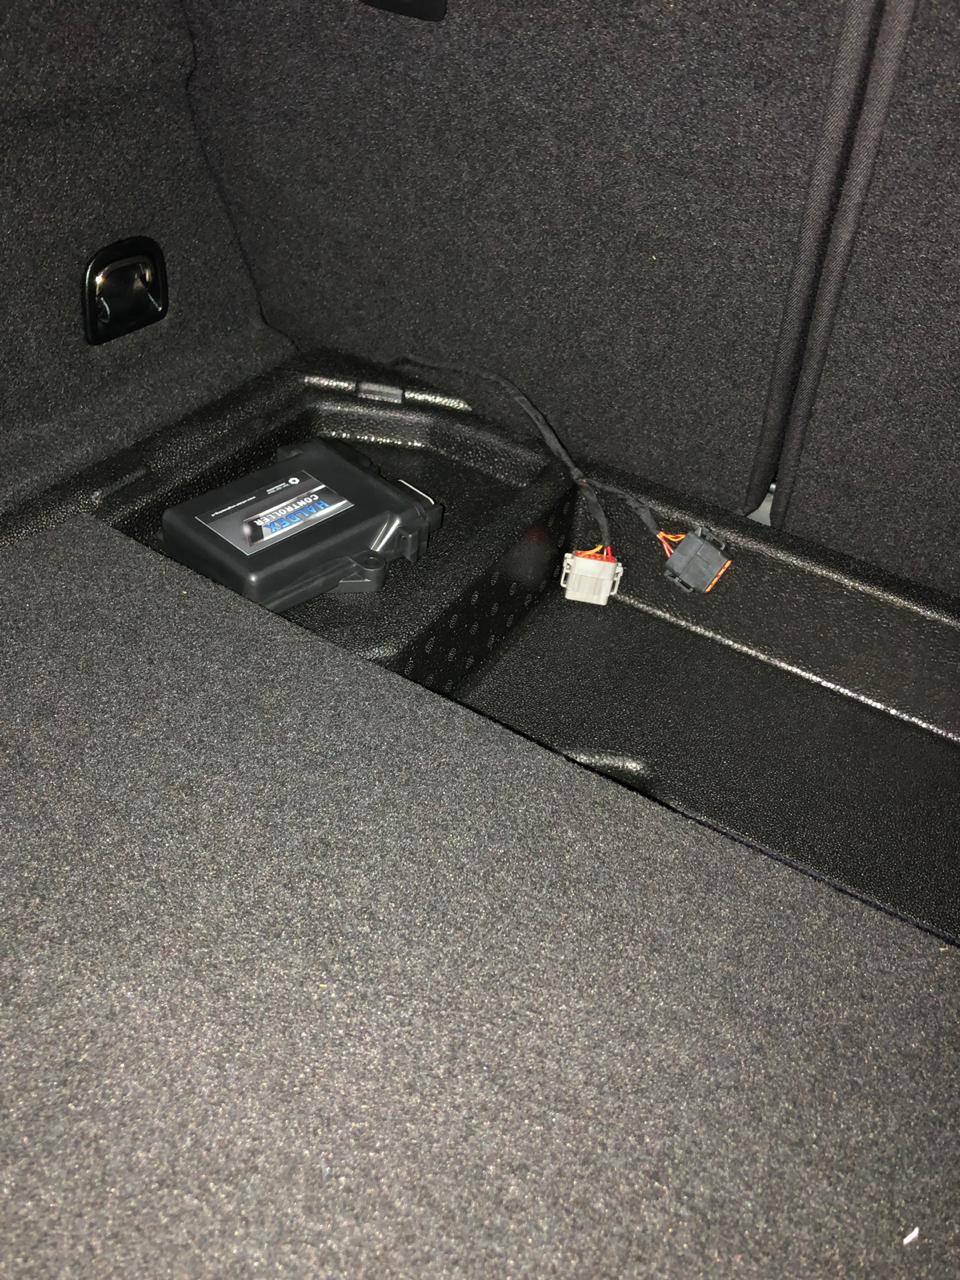
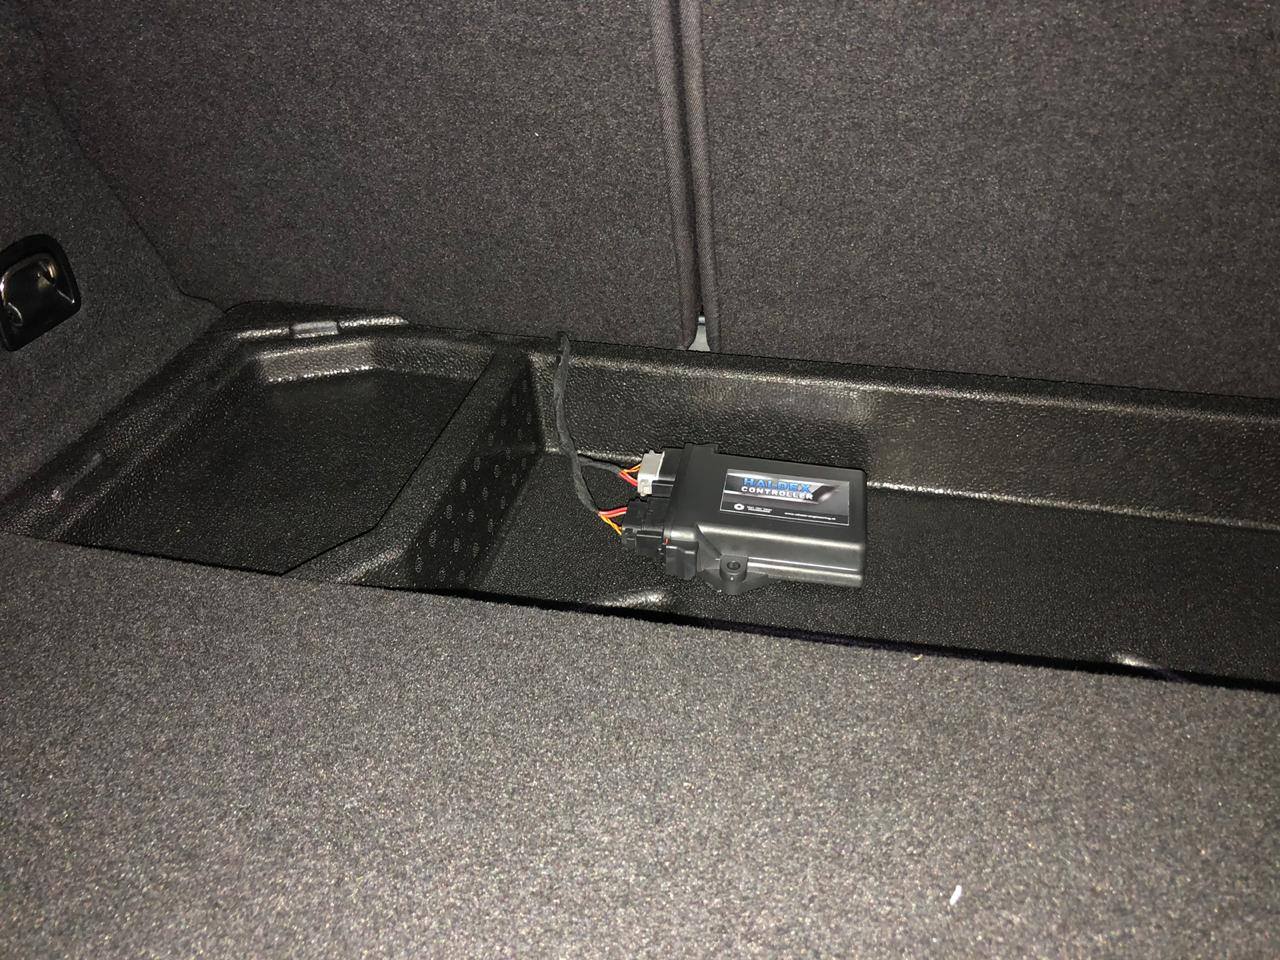
Connect the loom to the VE Haldex Controller and secure the controller in a protected spot in the luggage compartment. Refit the trim and seat cushion without trapping the cable.
VE Haldex Controller connected in the luggage compartment
AFTER INSTALLATION
Connect with the app
After the controller and loom are connected and secured, switch on the ignition. Open Bluetooth Devices in the Haldex Controller app and select your controller to connect.