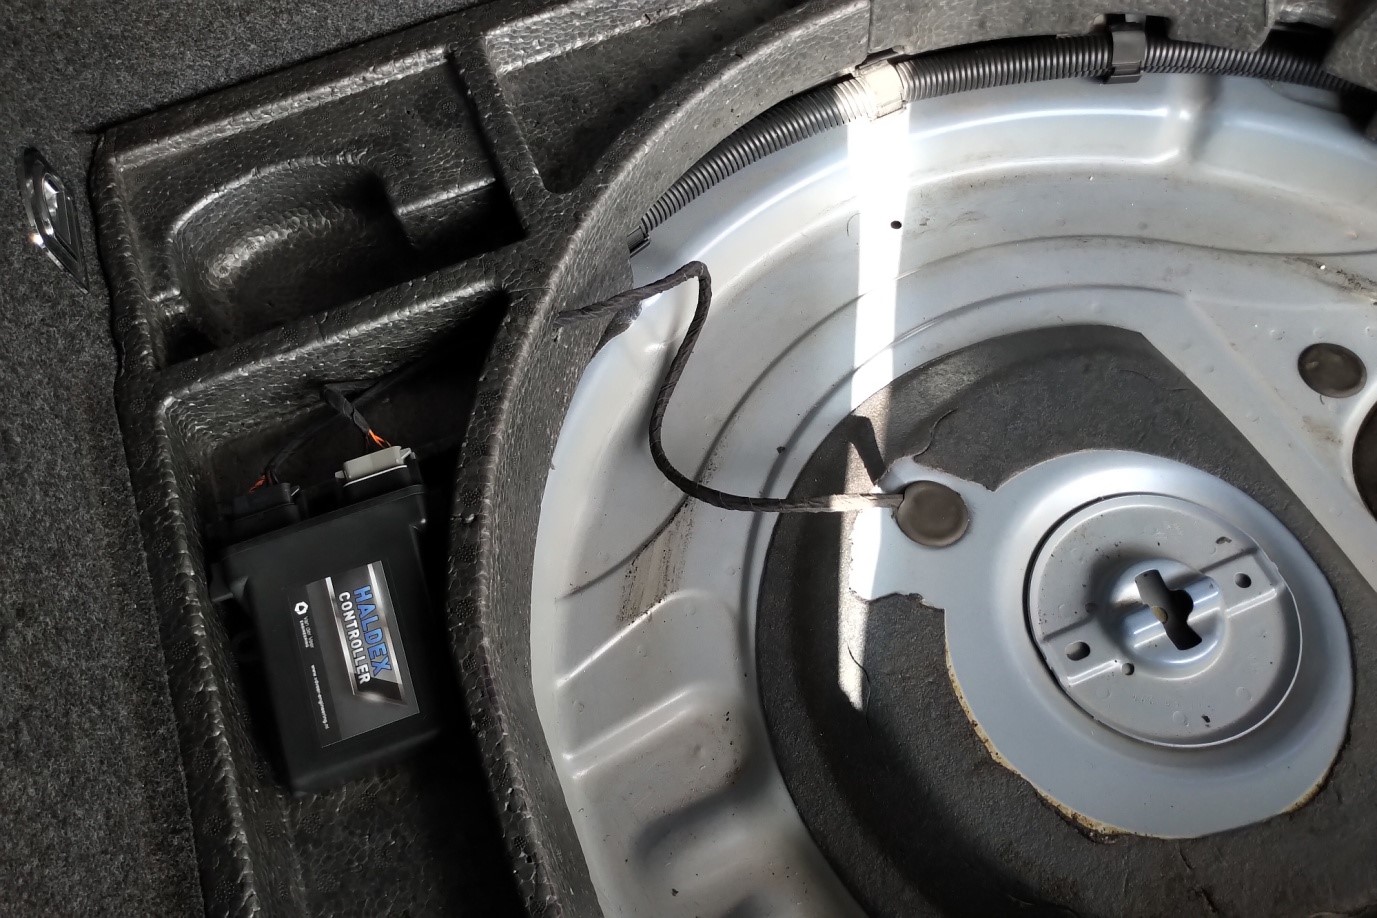
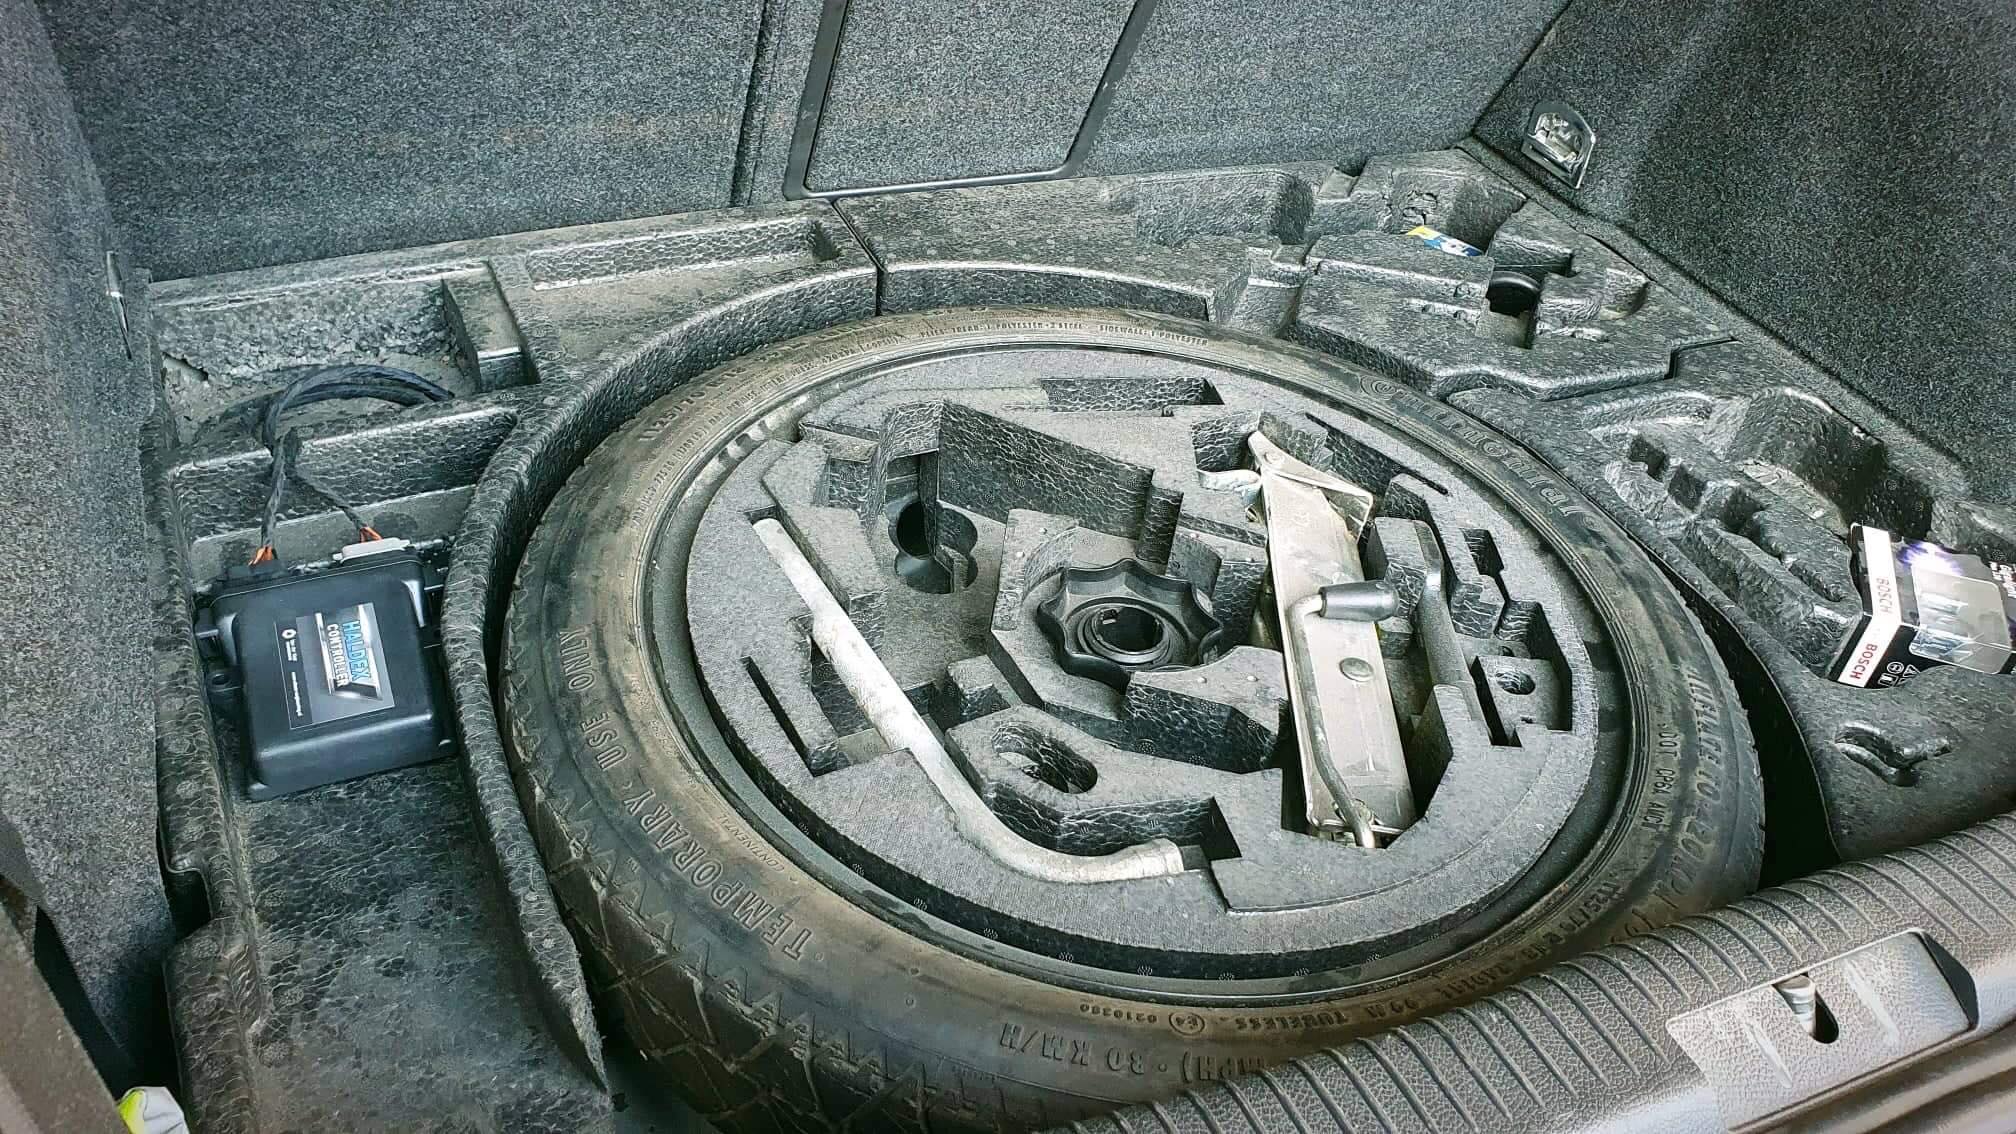
Confirm your car has a Gen2 Haldex unit and that you have the matching Gen2 Plug and Play kit. The photos show the spare wheel well and Haldex module on a Golf Mk5. Check the wiring route and mounting space on your own vehicle before starting.
Switch the ignition off before unplugging connectors. If you need to work underneath the vehicle, follow the manufacturer’s lifting and support procedure.
GEN2 / INLINE LOOM
Installation
STEP 01
Access the floor pass-through
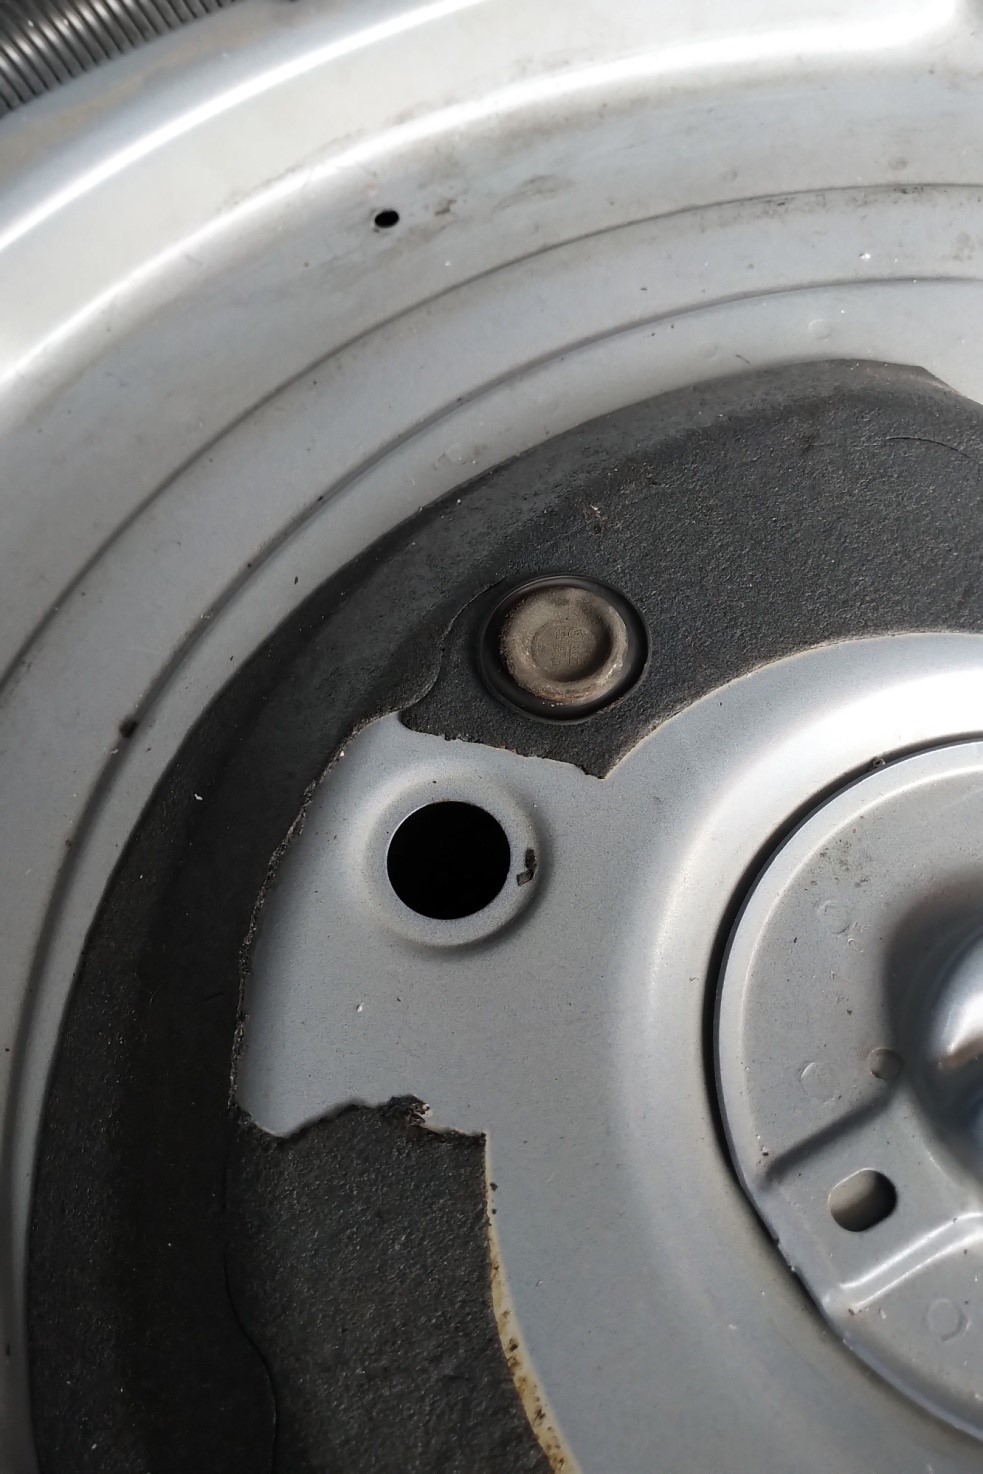
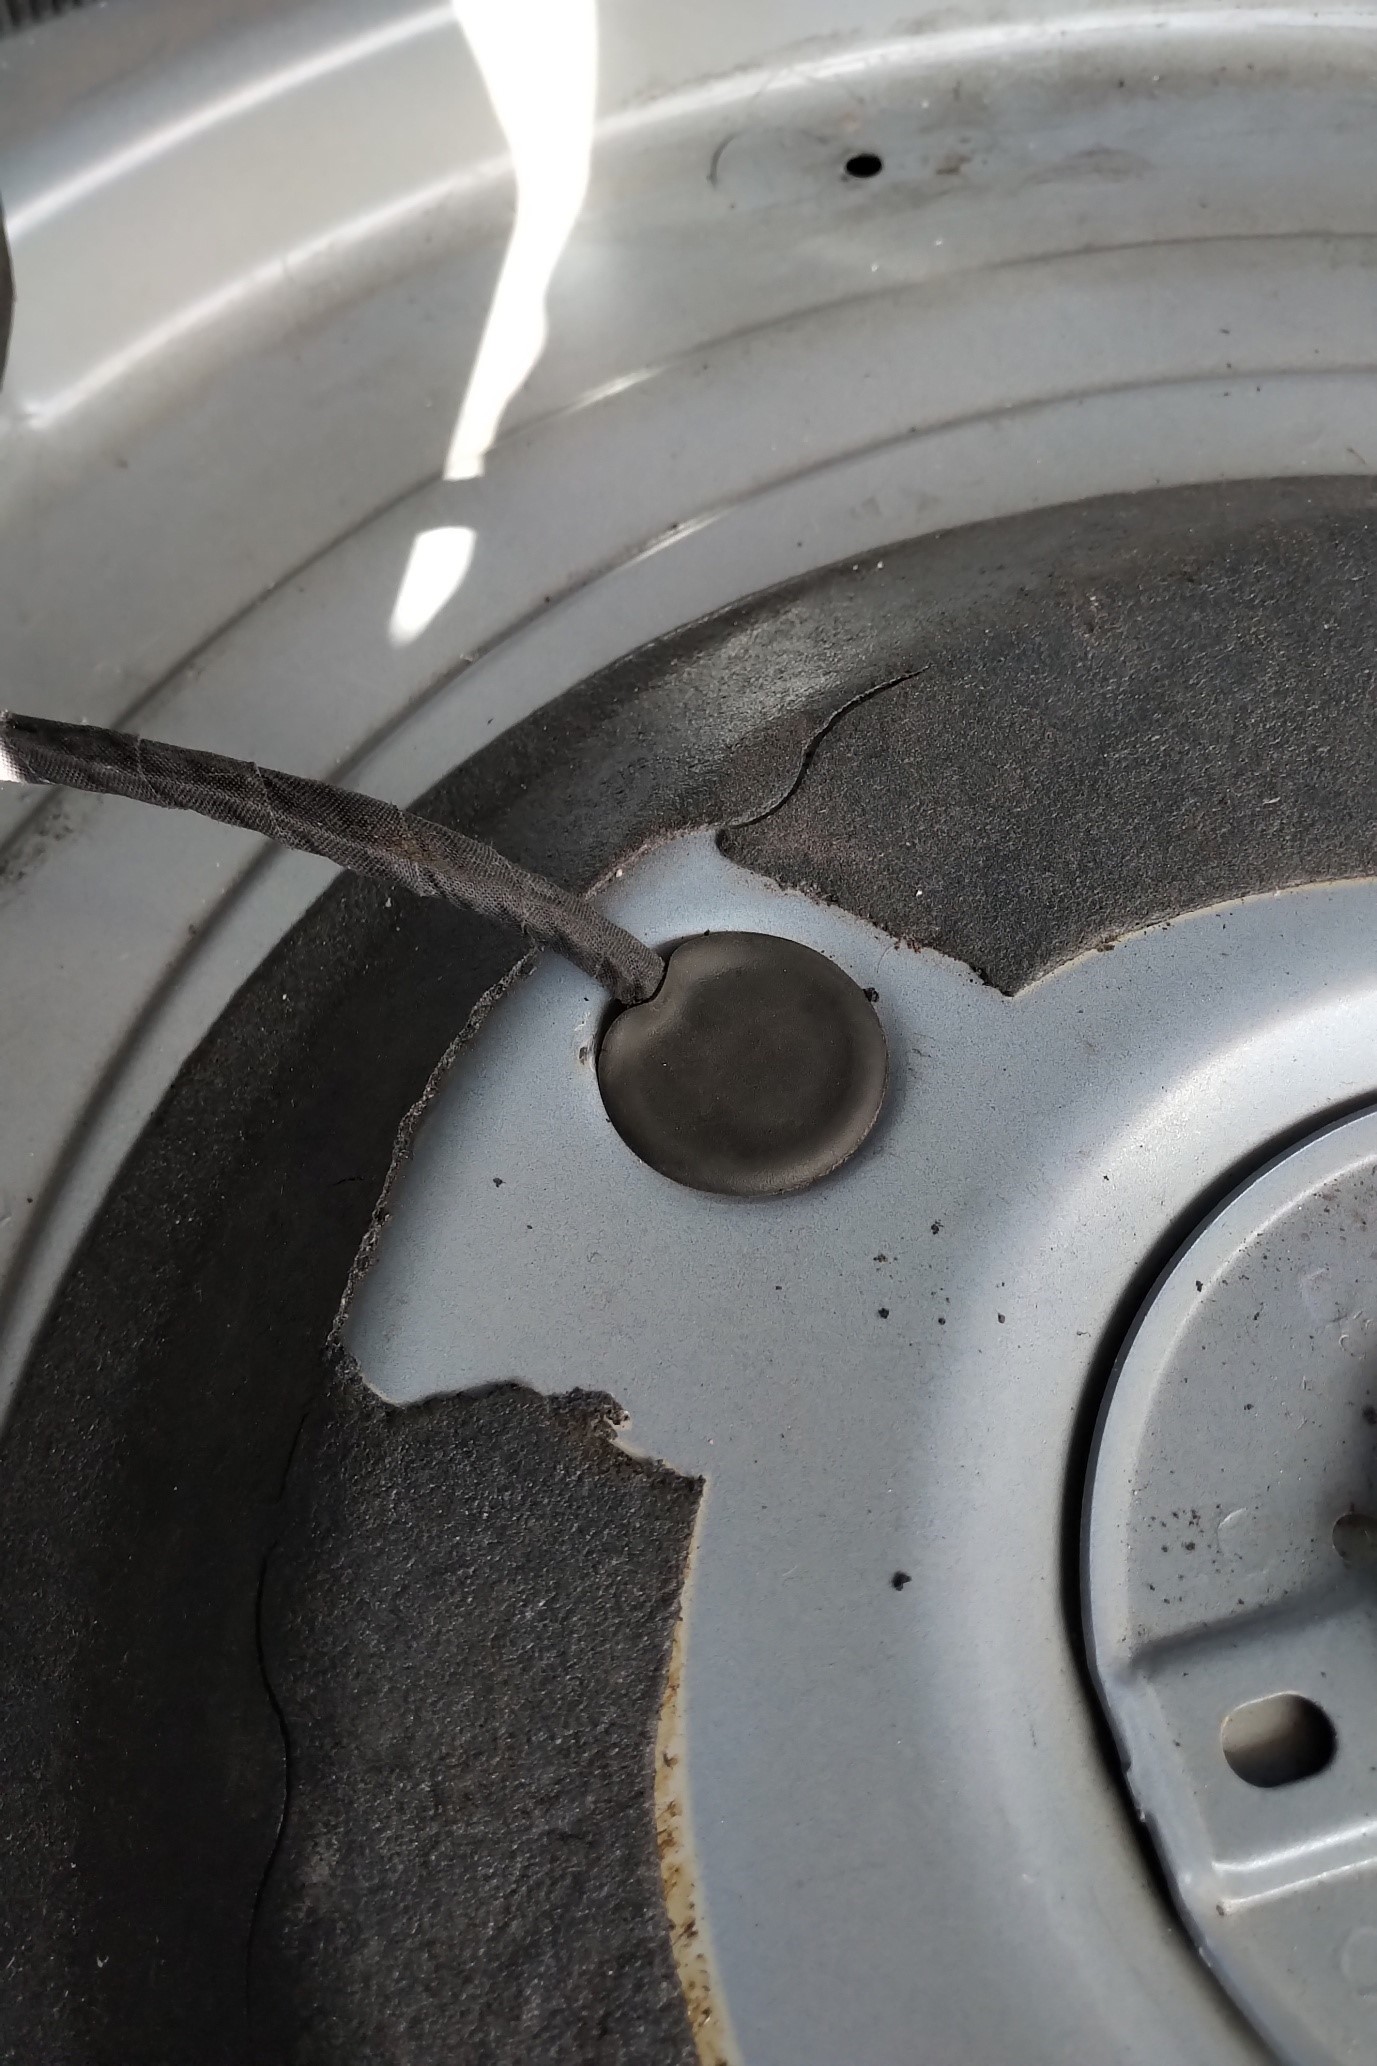
Remove the luggage compartment floor panel and lift out the spare wheel. Locate the floor grommet beside the spare wheel well and remove it to expose the opening.
Floor pass-through beside the spare wheel well
STEP 02
Feed the loom through the floor
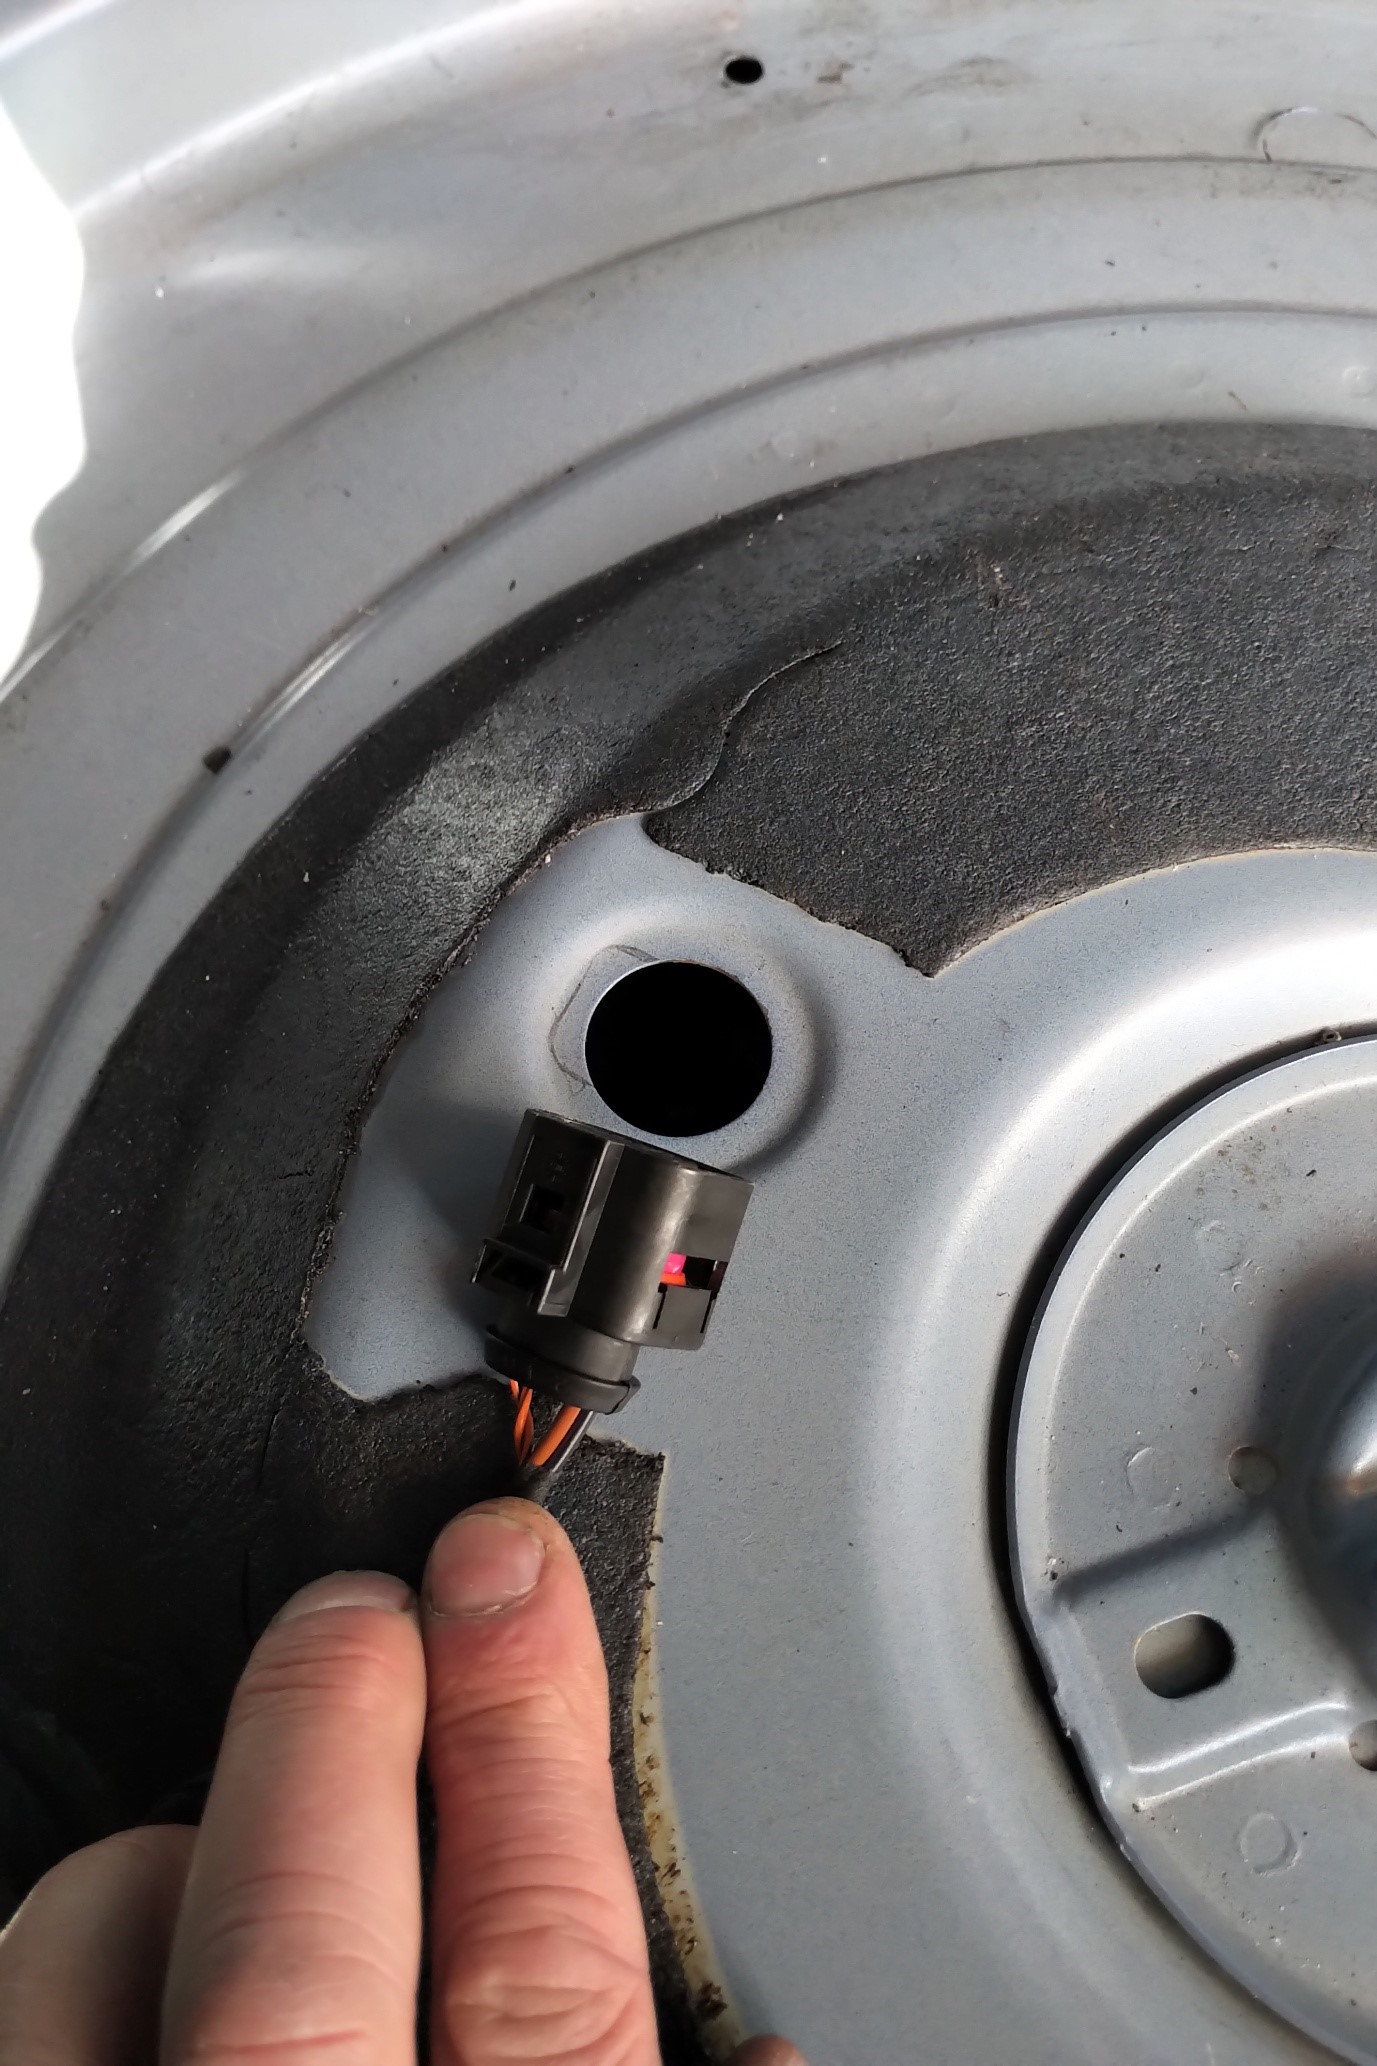
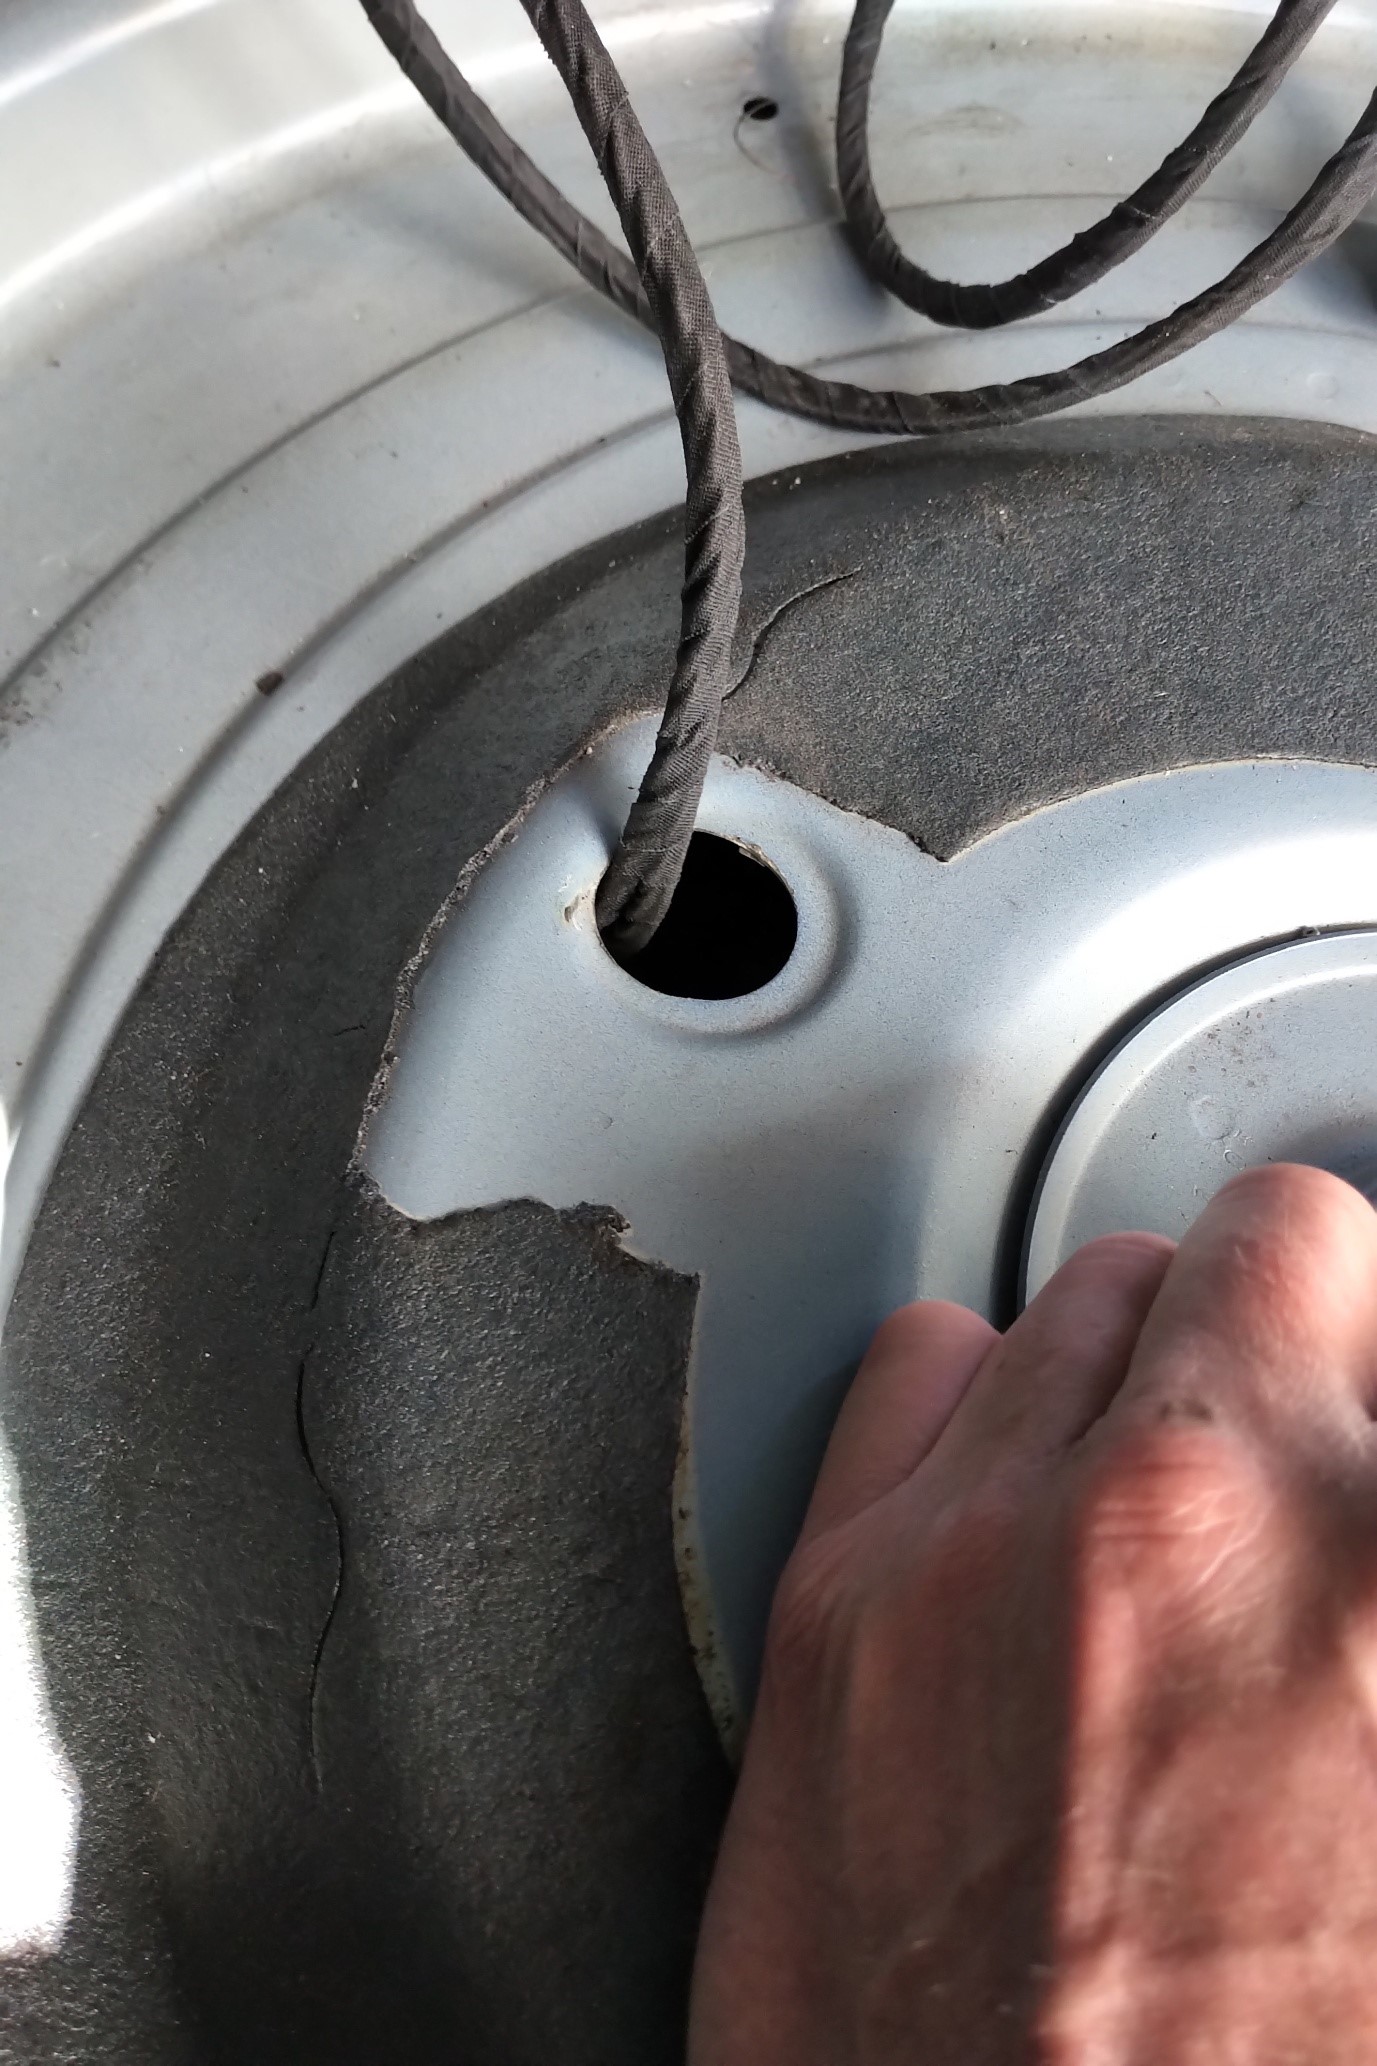
Pass the new loom through the opening from the luggage compartment toward the underside of the car.
If the connector does not fit through the opening, stop and check the vehicle-specific procedure before changing the opening. The loom must pass through without rubbing on an exposed edge.
Feeding the new loom through the floor opening
Loom passing through the opening before the grommet is refitted
STEP 03
Connect the inline loom at the Haldex module
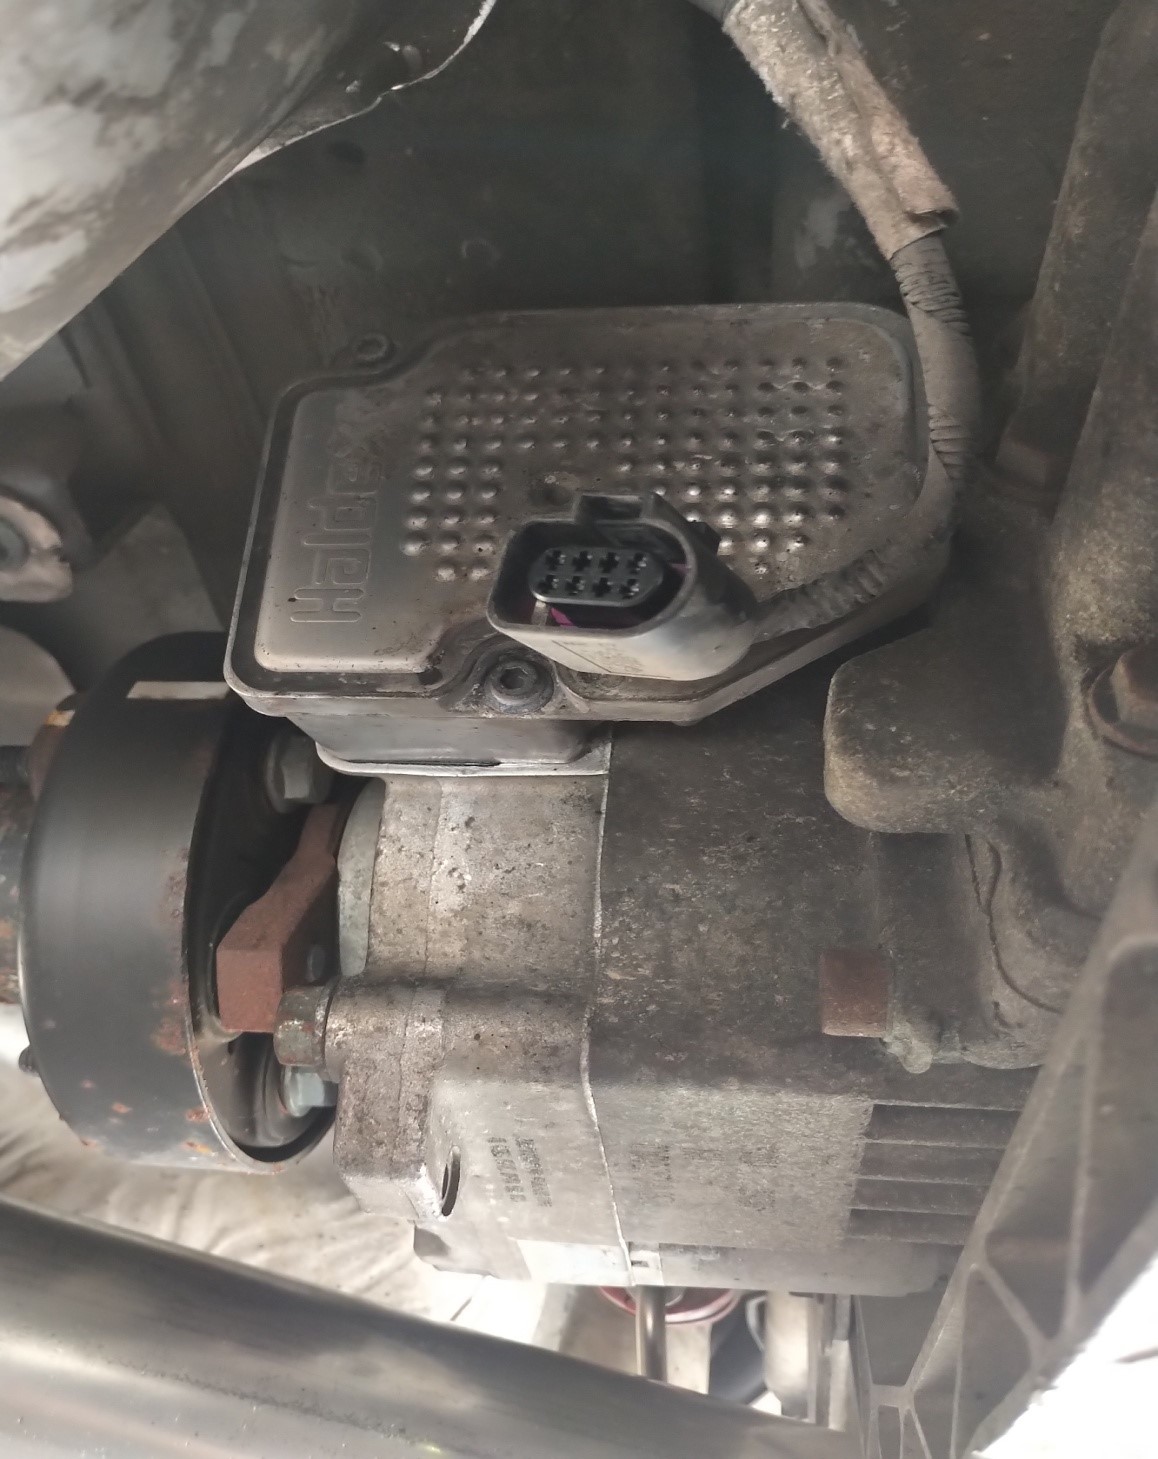
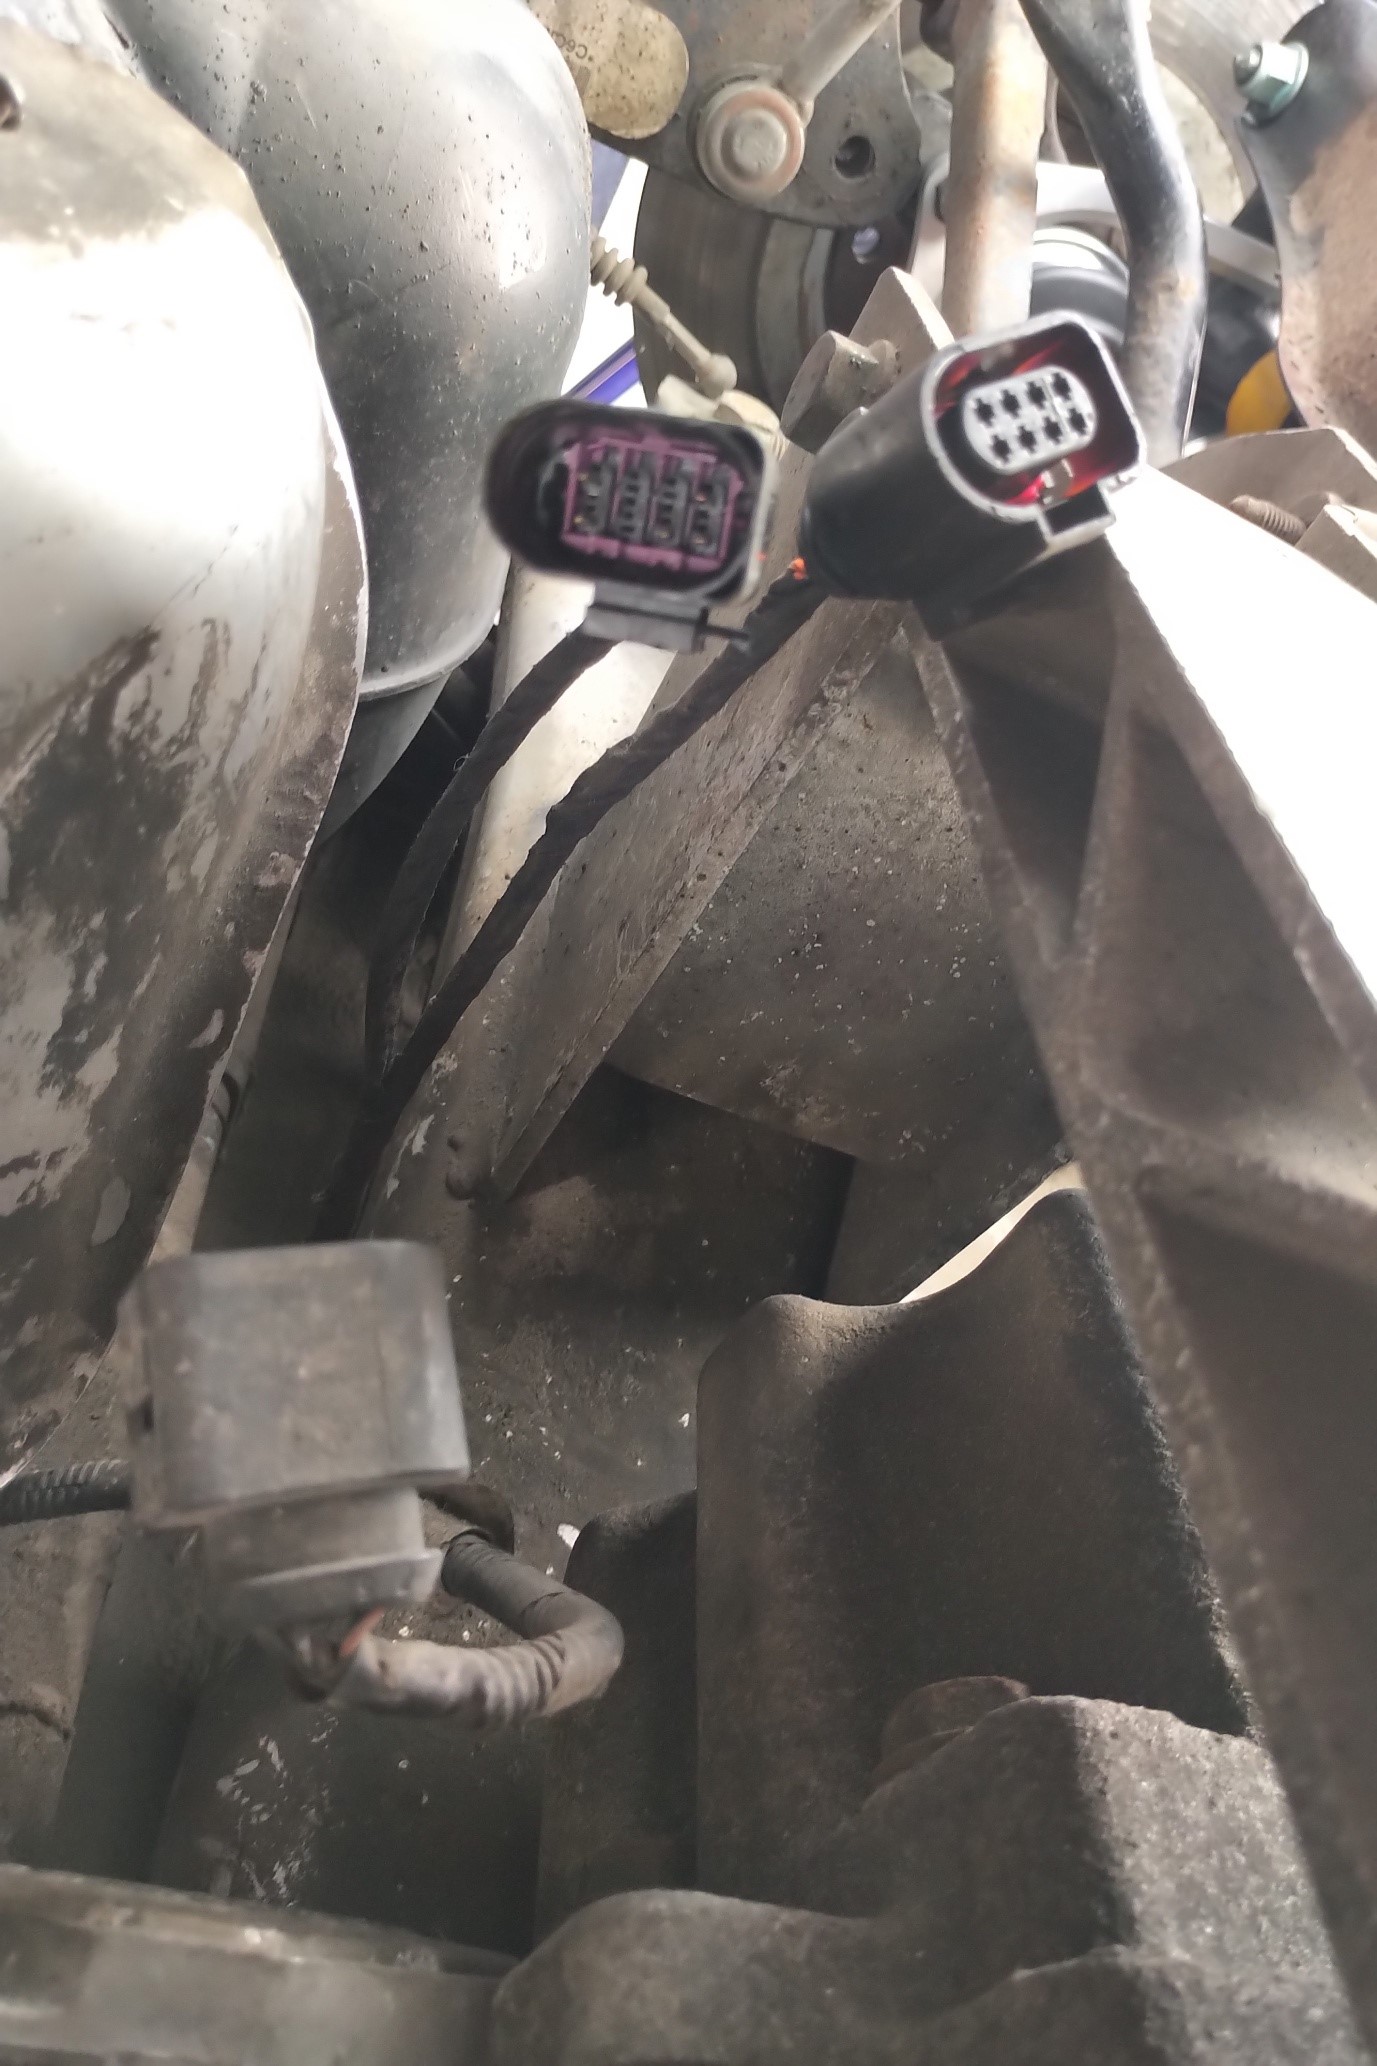
Unplug the factory connector from the Haldex module. Join the vehicle’s connector to its matching plug on the VE loom, then connect the other end of the VE loom to the Haldex module.
Check that both connectors latch. Secure the loom along a protected route, clear of moving parts and hot components.
Factory connection at the Gen2 Haldex module
Factory and inline loom connectors under the car
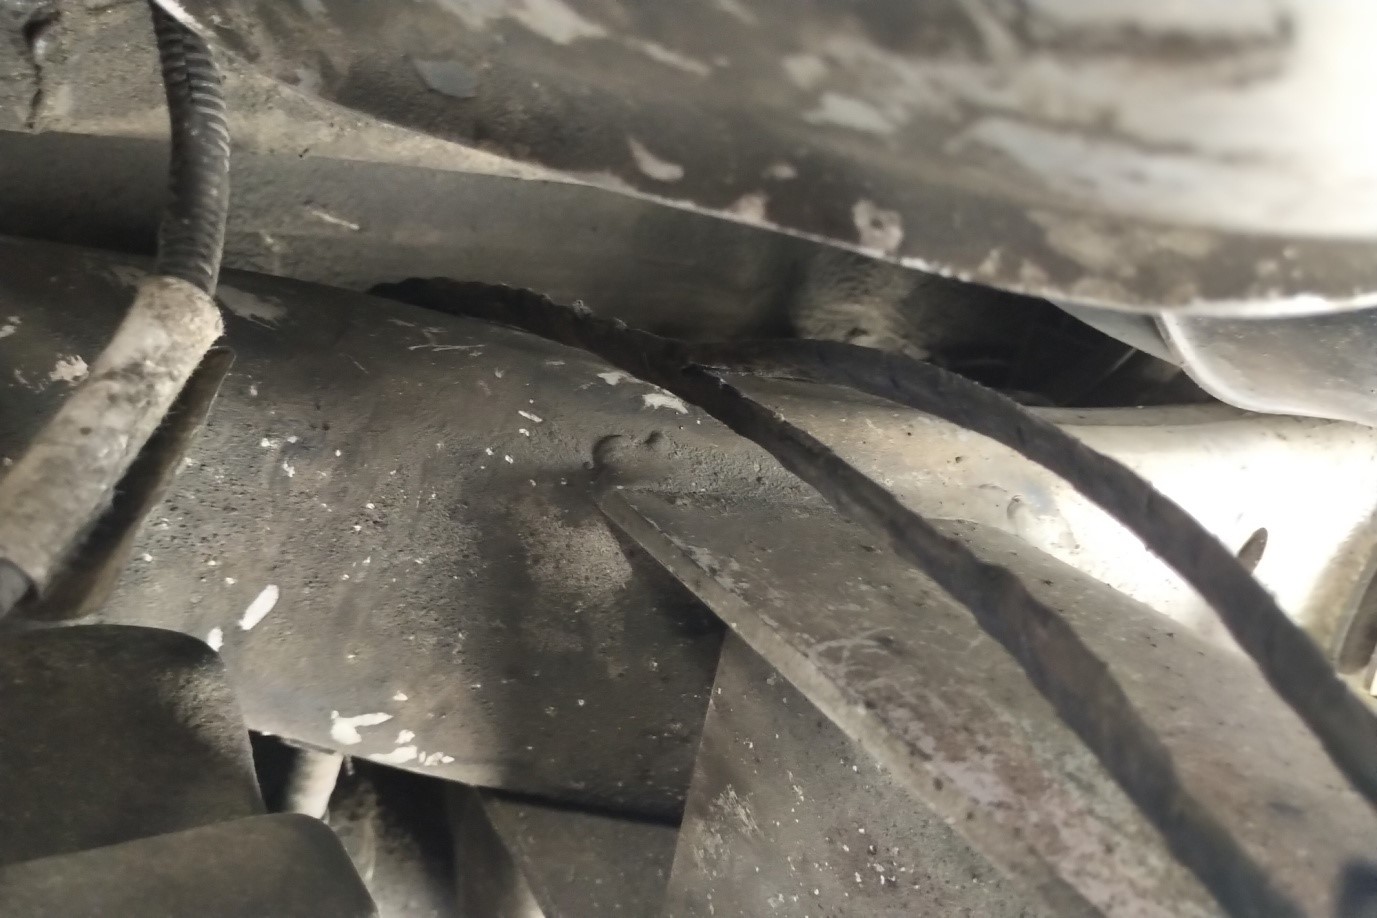
Inline loom secured along the underbody route
STEP 04
Refit the grommet and route the loom inside
Seat the grommet fully in the floor opening so it protects the cable and seals the pass-through. Route the interior end of the loom to the intended controller position in the luggage compartment.
Grommet seated around the loom in the floor
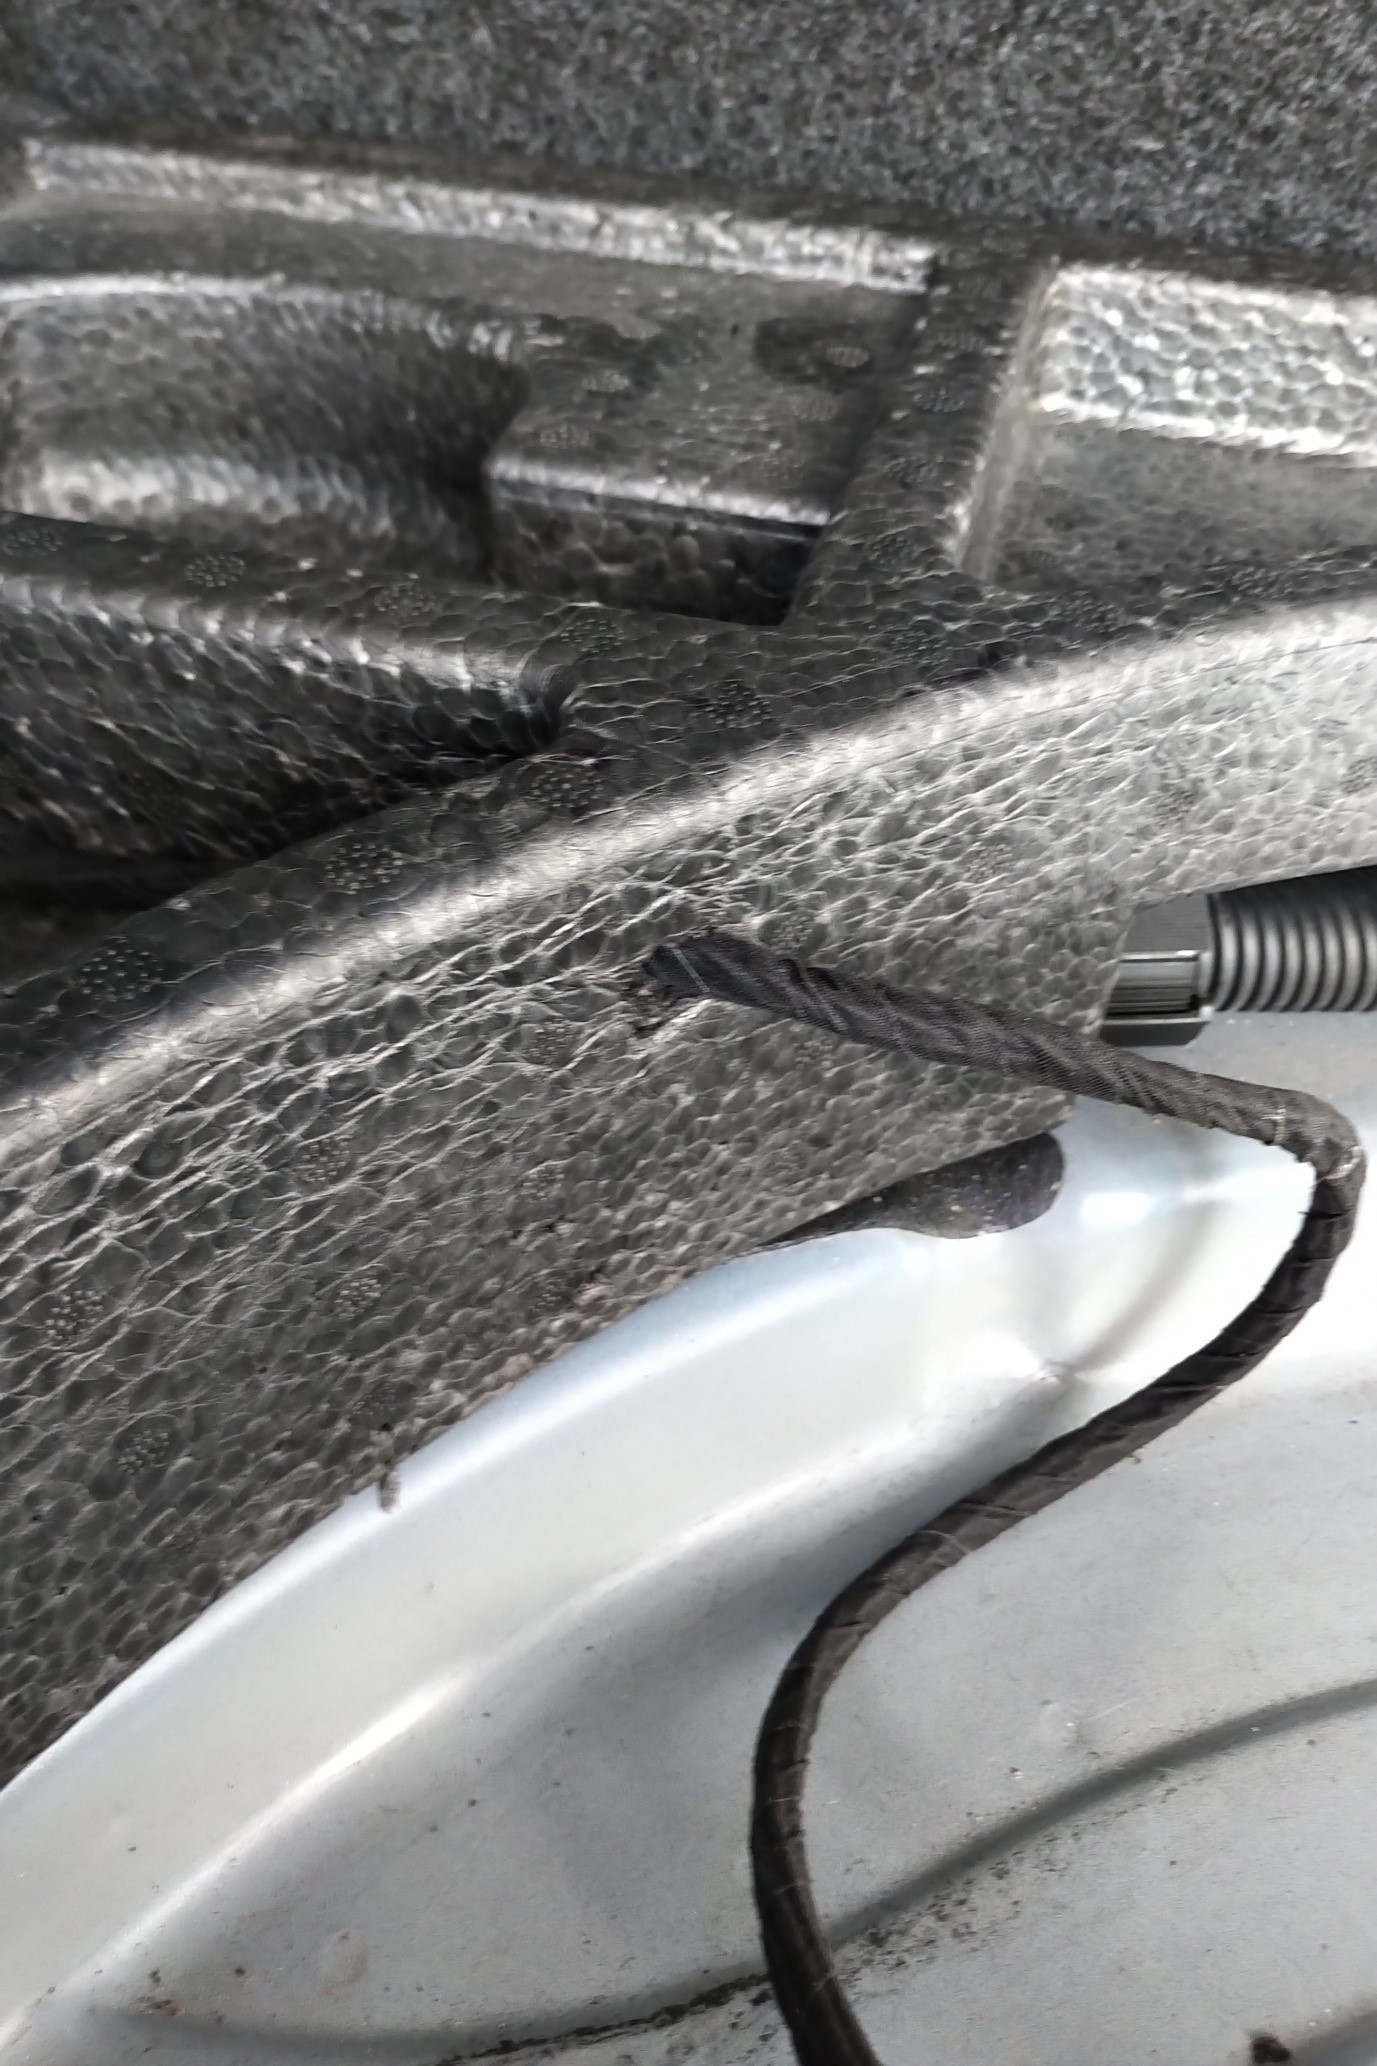
Loom routed along the edge of the spare wheel well
STEP 05
Connect and secure the controller
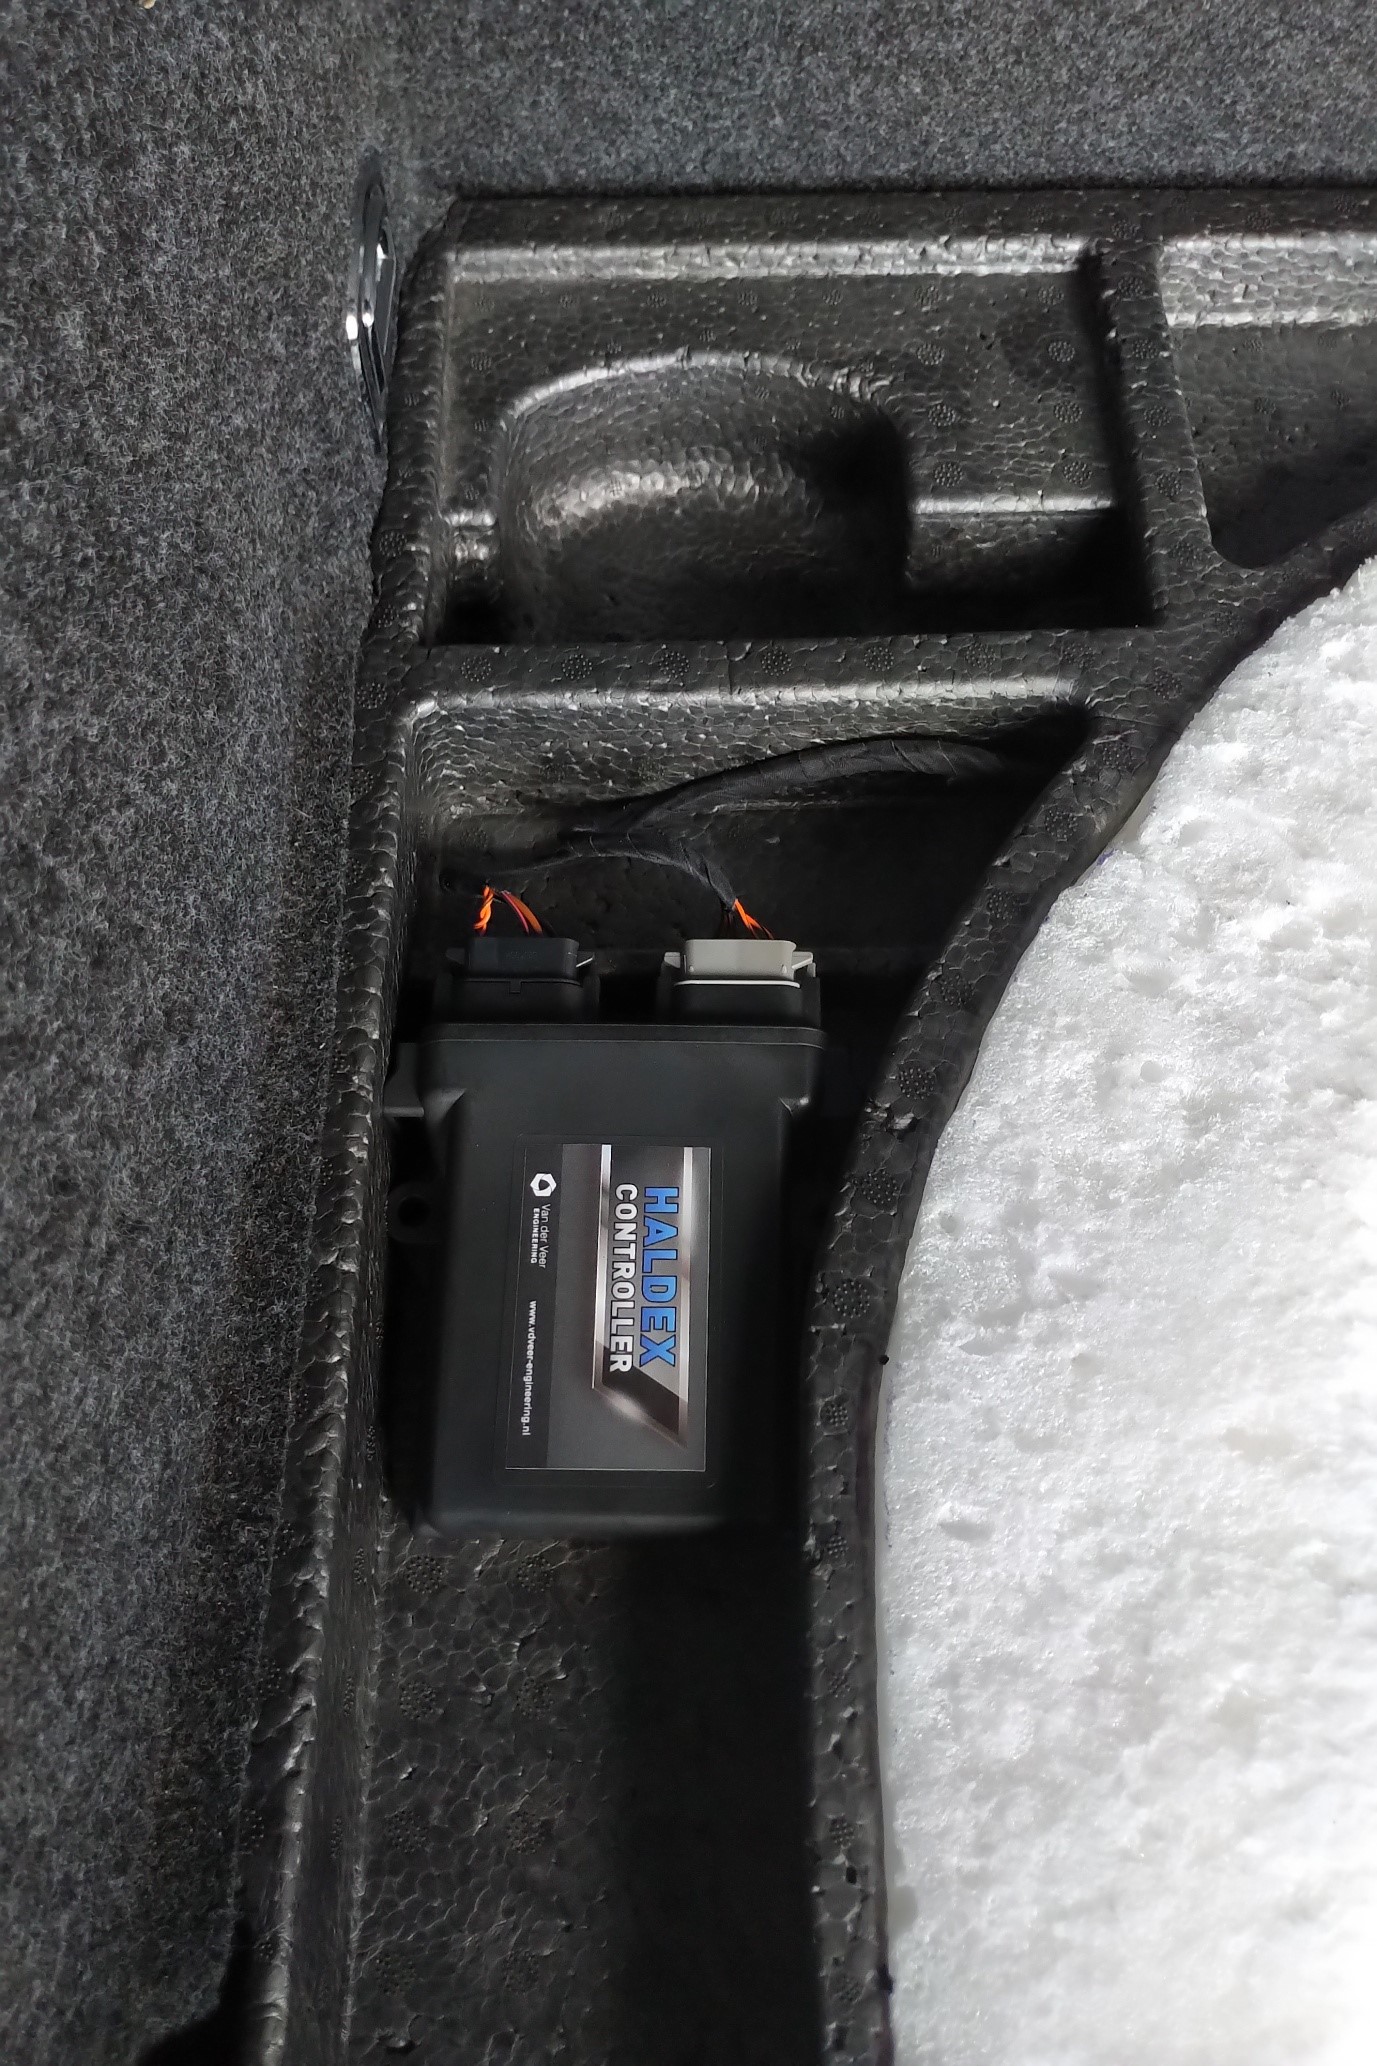
Connect the loom to the VE Haldex Controller and secure the controller in a protected spot. Check that the spare wheel and floor trim can go back in without trapping the wiring.
Controller and loom layout beside the spare wheel well
VE controller positioned beside the spare wheel
Golf Mk5 luggage compartment with the spare wheel and controller in place
AFTER INSTALLATION
Connect with the app
When the loom is connected and secured, switch on the ignition. Download the Haldex Controller app, open Bluetooth Devices, and select your controller to connect.